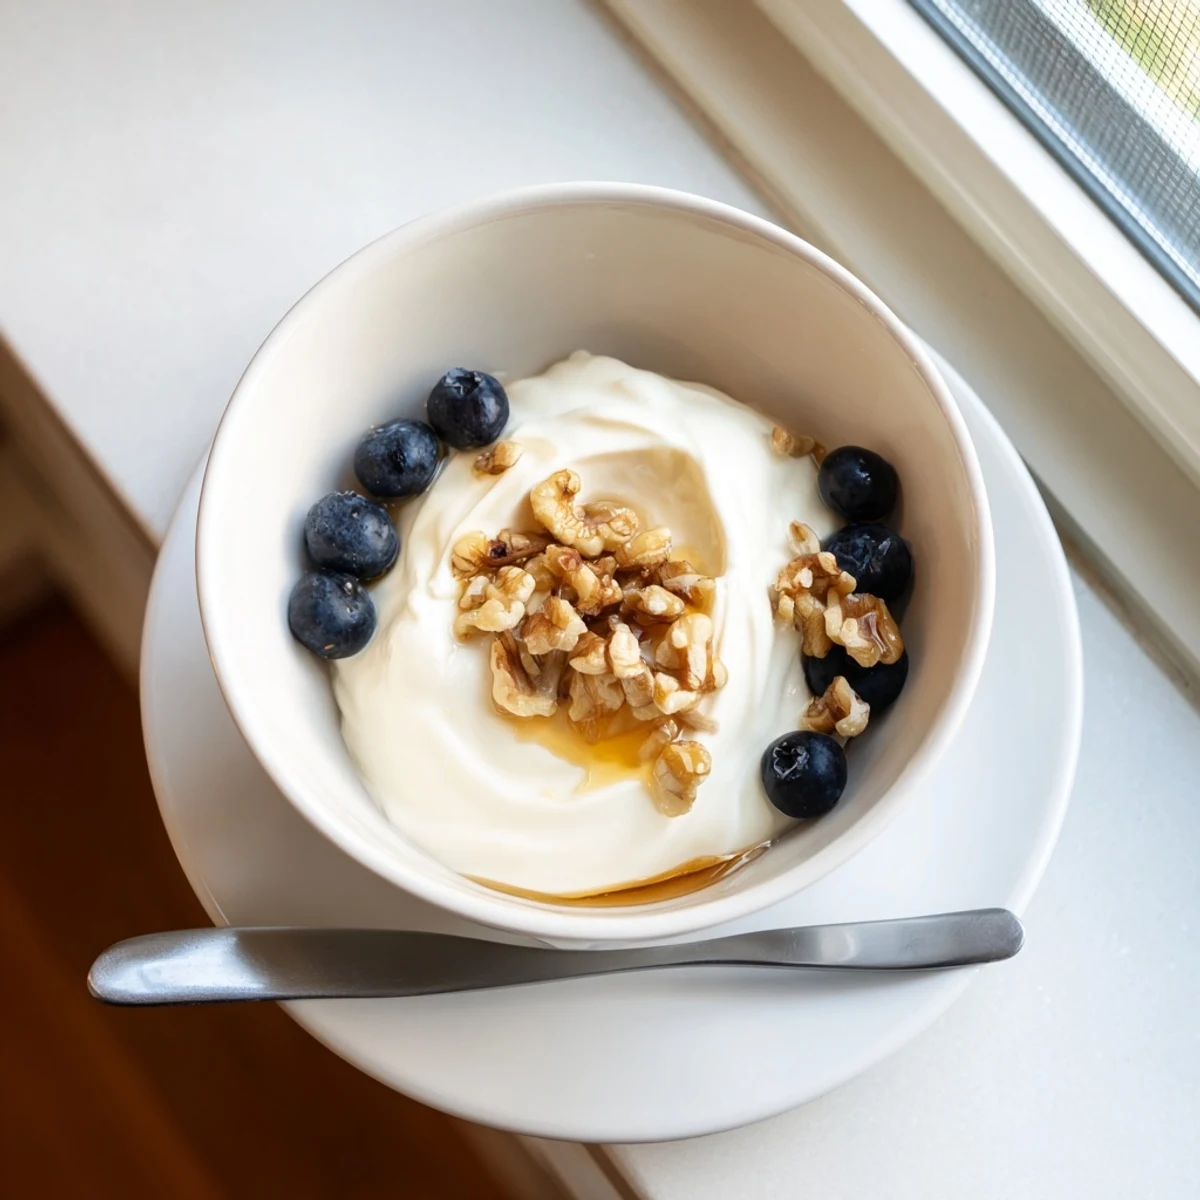
 Pin to Pinterest
 Craft velvety Greek yogurt using whole milk and live cultures. Heat milk to 180°F, cool to 110°F, then incubate for 6-8 hours. Strain through cheesecloth for that signature thick, creamy consistency. The result is a tangy, protein-rich dairy staple that elevates breakfast bowls, pairs beautifully with fresh fruit and honey, or adds creaminess to savory dishes and sauces.
Last winter, during that week we were all snowed in and the grocery shelves were looking bare, I decided to try making yogurt from scratch. My grandmother used to do this on her farm in Greece, letting milk culture overnight wrapped in blankets, and Id always been too intimidated to try it myself. But standing in my kitchen with a gallon of milk and nothing but time, I realized how beautifully simple the process actually is.
My daughter walked into the kitchen while I was heating the milk, asking why I was stirring a pot of milk with such intense focus. When I explained we were making yogurt, her eyes widened like Id revealed some kind of kitchen magic. The best part was watching her face when she tasted the first spoonful the next morning, thick and perfect and better than anything wed ever bought.
Ingredients
- Whole milk: The higher fat content creates that luxurious creamy texture, though you can use low fat if you prefer a thinner yogurt
- Plain yogurt with live cultures: This is your starter, so make sure it says live active cultures on the container and has no additives
Instructions
- Heat the milk perfectly:
- Warm your milk in a saucepan over medium heat, stirring gently now and then, until it reaches exactly 82°C (180°F)
- Let it cool down:
- Remove from heat and wait until the temperature drops to 43°C (110°F), which feels comfortably warm to your finger like a nice baby bottle
- Make your starter:
- Whisk 2 tablespoons of the cooled milk with your yogurt starter until completely smooth in a small bowl
- Combine everything:
- Pour the starter mixture back into your cooled milk and stir gently but thoroughly to distribute those cultures
- Let it work its magic:
- Pour into a clean container, cover, wrap in a towel to keep it cozy, and let it culture undisturbed for 6-8 hours
- Transform it into Greek yogurt:
- Line a strainer with cheesecloth over a bowl, pour in your yogurt, and refrigerate for 1-2 hours until it reaches your desired thickness
- Store and enjoy:
- Transfer your thickened Greek yogurt to a clean container and refrigerate until youre ready to serve
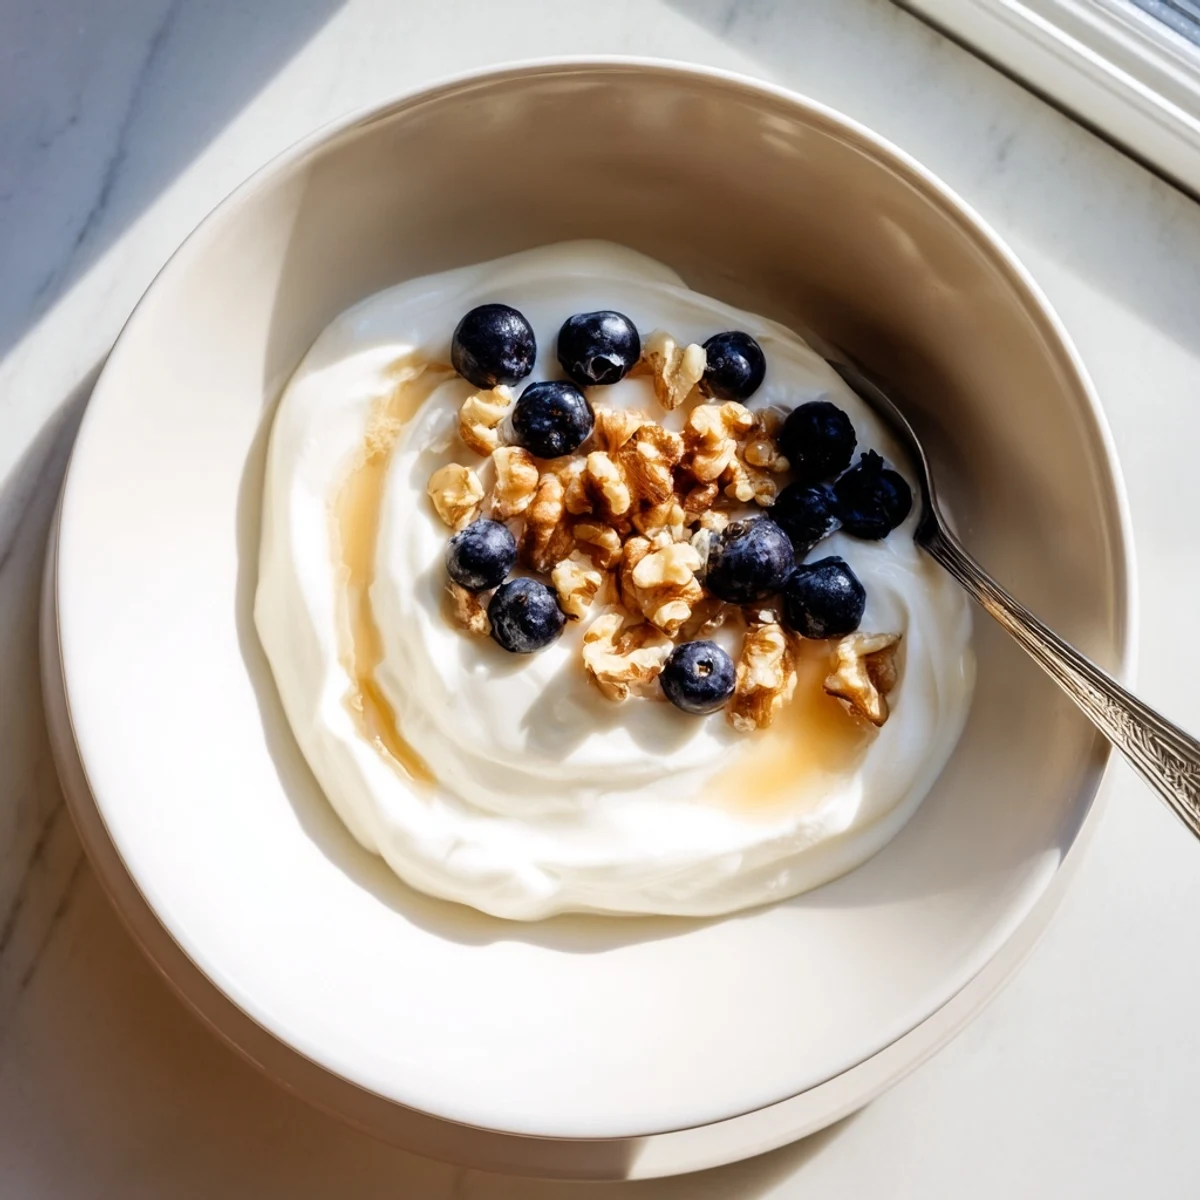 Pin to Pinterest
 That first batch of homemade yogurt became such a staple in our house that my kids now request it specifically when we run out. Theres something deeply satisfying about spooning out yogurt you created yourself, thick and tangy and perfect.
The Waiting Game
The culturing period is where the magic happens, those live cultures turning ordinary milk into something extraordinary. I usually start mine in the evening so it cultures overnight while we sleep, waking up to yogurt thats ready to strain. Find a warm, undisturbed spot and resist the urge to check on it.
Save That Whey
The liquid that strains out, called whey, is packed with protein and probiotics. I pour it into smoothies or use it in baking for added nutrition, though my grandmother used to drink it straight with a pinch of salt. It keeps in the fridge for about a week, so dont let that golden liquid go to waste.
Making It Your Own
Once you master the basic technique, youll start experimenting with different milks and serving styles. Goat and sheep milk add their own subtle flavors, while the toppings are endless possibilities.
- Fold in honey and vanilla while its straining for a pre sweetened version
- Try different cultures like Bulgarian for a tangier result or milder varieties for sensitive palates
- Always save a small spoonful of your batch to start your next one, creating an endless supply
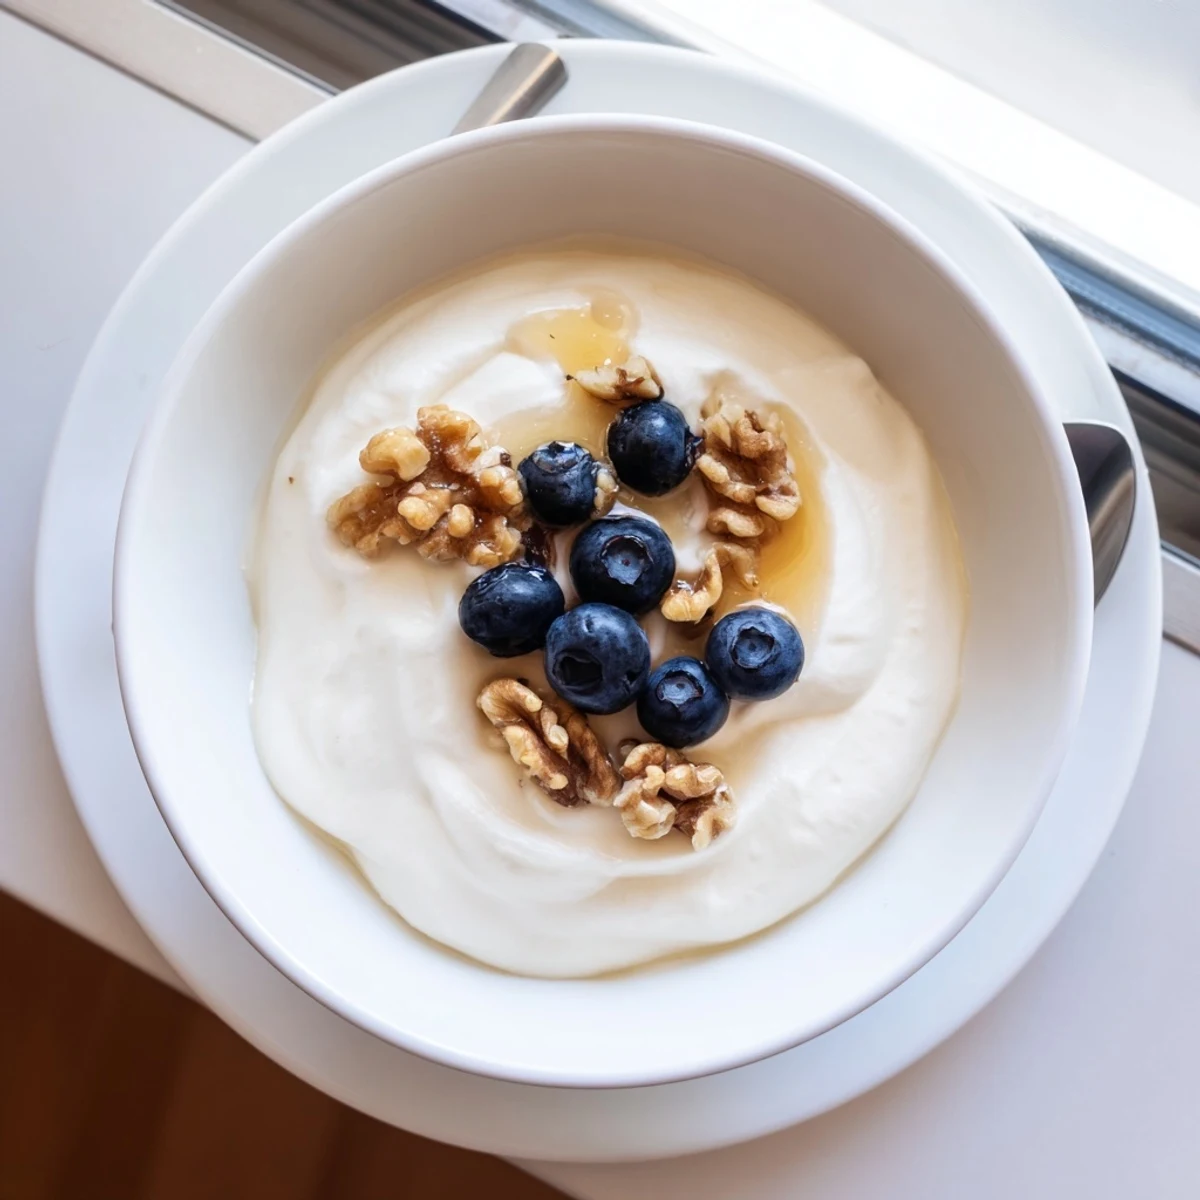 Pin to Pinterest
 Theres something profoundly grounding about making your own yogurt, connecting you to generations of home cooks who understood that the best things in life are sometimes the simplest. Once you start, you might never go back to store bought again.
Recipe FAQs
- → What makes Greek yogurt different from regular yogurt?
-
Greek yogurt undergoes straining to remove whey, resulting in a thicker, creamier texture with nearly double the protein content compared to traditional varieties.
- → Can I use low-fat milk instead of whole milk?
-
Yes, though whole milk produces the creamiest results. Low-fat options work but yield a thinner consistency that may require longer straining time.
- → How long does homemade Greek yogurt stay fresh?
-
Properly stored in an airtight container, homemade yogurt keeps for 1-2 weeks in the refrigerator. Always use clean utensils when serving to extend shelf life.
- → What can I do with the leftover whey?
-
The strained whey is nutrient-rich and works well in smoothies, baking bread, or as a starter for fermented foods like sauerkraut and pickles.
- → Do I need a yogurt maker to make this?
-
No special equipment is required. A warm spot in your kitchen, oven with the light on, or wrapping the container in towels maintains the ideal temperature for culturing.
- → Can I reuse my homemade yogurt as a starter?
-
Yes, reserve 2 tablespoons from your first batch to start the next one. However, starters lose potency after 3-4 generations, so refresh with commercial yogurt periodically.