 Pin to Pinterest
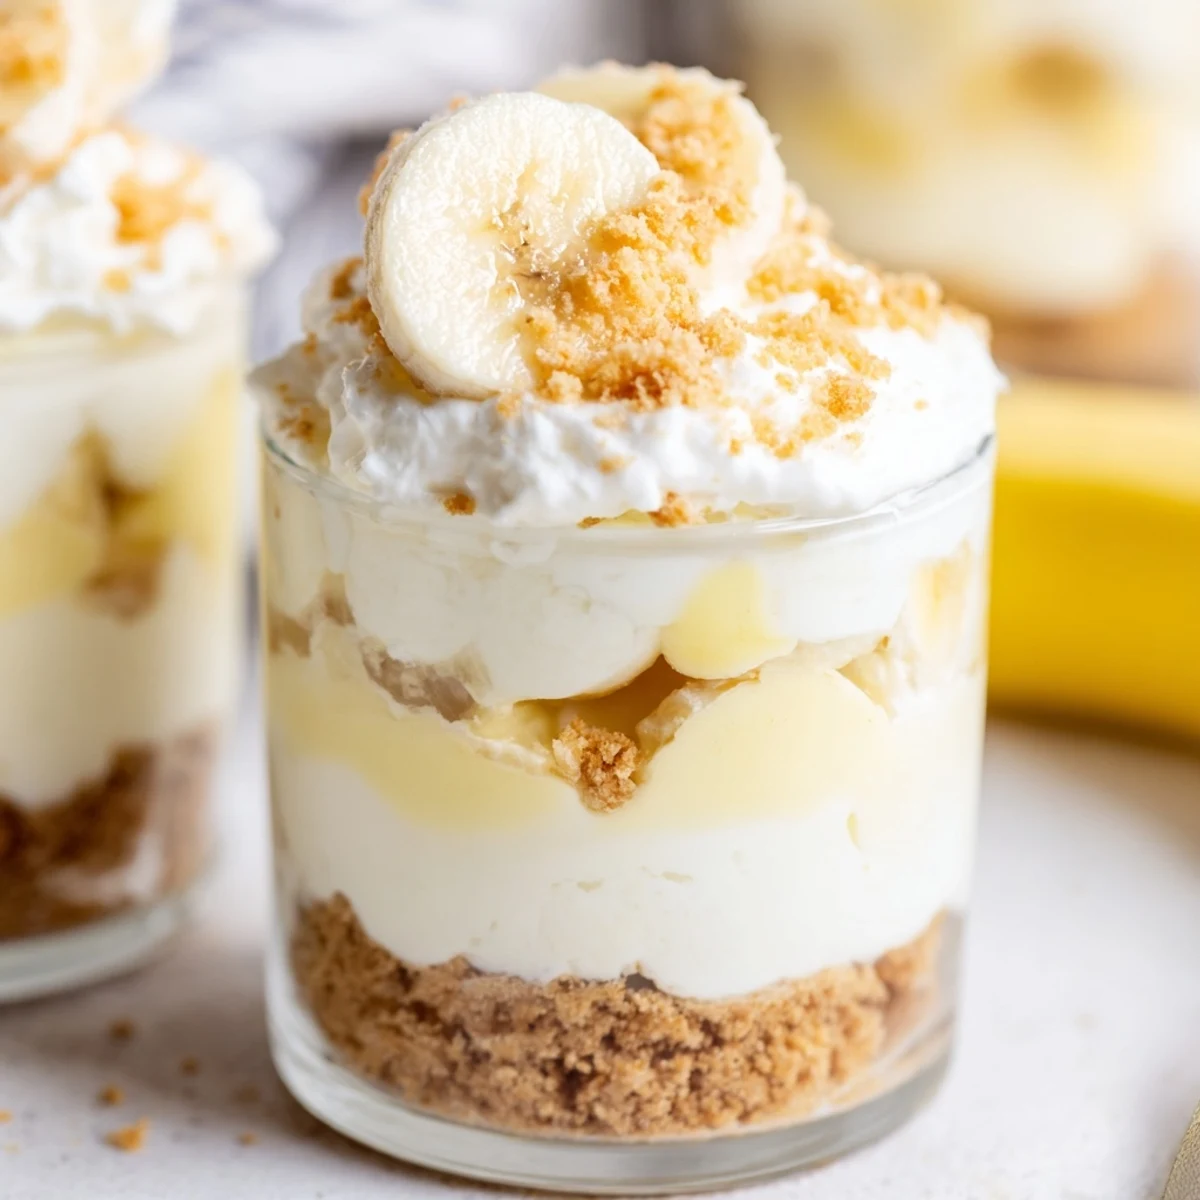
 These individual cups feature velvety layers of vanilla-infused cheesecake filling and classic banana pudding, all nestled atop a buttery vanilla wafer crust. The no-bake preparation comes together in just 20 minutes, requiring only simple chilling time to set. Fresh banana slices add natural sweetness throughout the layers, while a generous topping of crushed wafers provides satisfying crunch in every spoonful. Each cup delivers the perfect balance of creamy, fruity, and crispy elements that make this American-style dessert a crowd-pleasing favorite for gatherings or everyday treats.
The best discoveries happen when you're too tired to turn on the oven but craving something spectacular. I stumbled onto this combination during a summer heatwave when my kitchen felt like an sauna and my guests were arriving in two hours. Now it's become my go-to secret weapon for every gathering that needs a showstopper without the stress.
My sister-in-law actually licked her cup clean at our last family dinner and asked for the recipe before she even left the table. There's something about individual servings that makes people feel special, like they're getting their own tiny present. I've started making these for everything from book club to birthday celebrations because they always disappear faster than I can say dessert.
Ingredients
- 1 cup vanilla wafer cookies, crushed: These buttery little cookies create the perfect nostalgic crunch that reminds everyone of childhood but feels sophisticated enough for adults
- 2 tbsp unsalted butter, melted: The glue that holds your crust together and adds that rich buttery foundation every great dessert needs
- 8 oz cream cheese, softened: Room temperature is non negotiable here or you'll end up with lumpy filling instead of silky smooth perfection
- 1/3 cup granulated sugar: Just enough sweetness to balance the tanginess without overpowering the delicate banana flavor
- 1 tsp pure vanilla extract: Never skip the pure version here because artificial just can't compete with the real thing
- 1 cup heavy whipping cream, cold: The temperature matters because cold cream whips up faster and holds its structure better
- 1 package instant banana pudding mix: The shortcut that makes this recipe accessible without sacrificing that classic banana pudding taste everyone loves
- 1 1/4 cups cold whole milk: Whole milk creates a richer pudding that stands up beautifully to the dense cheesecake layer
- 2 ripe bananas, sliced: Look for bananas with some brown spots because they offer the sweetest most developed flavor
- Additional vanilla wafer crumbs: For that perfect finishing crunch on top that makes every bite interesting
- Fresh banana slices: The garnish that tells everyone exactly what delicious flavor awaits inside
- Whipped cream: The crowning glory that makes these cups feel like they came from a fancy bakery
Instructions
- Build the Foundation:
- Mix your crushed wafers with melted butter until every crumb is coated and smells like buttery heaven. Press about two tablespoons into the bottom of each cup using the back of a spoon to create an even layer that will hold up all those gorgeous creamy layers above.
- Start the Creamy Magic:
- Beat your softened cream cheese with sugar and vanilla until the mixture transforms into something silky smooth and completely lump free. This takes about two to three minutes and your arm will definitely feel like it's had a workout.
- Create Clouds:
- Whip your cold heavy cream in a separate bowl until those beautiful stiff peaks form and you could practically turn the bowl upside down without anything moving. Gently fold this into your cream cheese mixture being careful not to deflate all that air you just worked so hard to incorporate.
- Whisk Up Nostalgia:
- Combine your banana pudding mix with cold milk and whisk for exactly two minutes until it thickens into that familiar pudding consistency we all remember from childhood lunches.
- Start the Layers:
- Spoon half your cheesecake mixture over each crust spreading it gently so you don't disturb that crispy foundation you built.
- Add Banana Love:
- Arrange a layer of sliced bananas over the cheesecake making sure every bite will have some fruit in it.
- Pour on the Pudding:
- Divide your banana pudding evenly among the cups spooning it carefully over the banana layer so everything stays neat and pretty.
- Top it Off:
- Add your remaining cheesecake mixture on top spreading it as smoothly as possible because this is what everyone will see first.
- Make it Beautiful:
- Sprinkle extra wafer crumbs add fresh banana slices and finish with a dollop of whipped cream on each cup.
- Practice Patience:
- Cover your cups and let them chill for at least two hours because this resting time is essential for all the flavors to meld together into something extraordinary.
 Pin to Pinterest
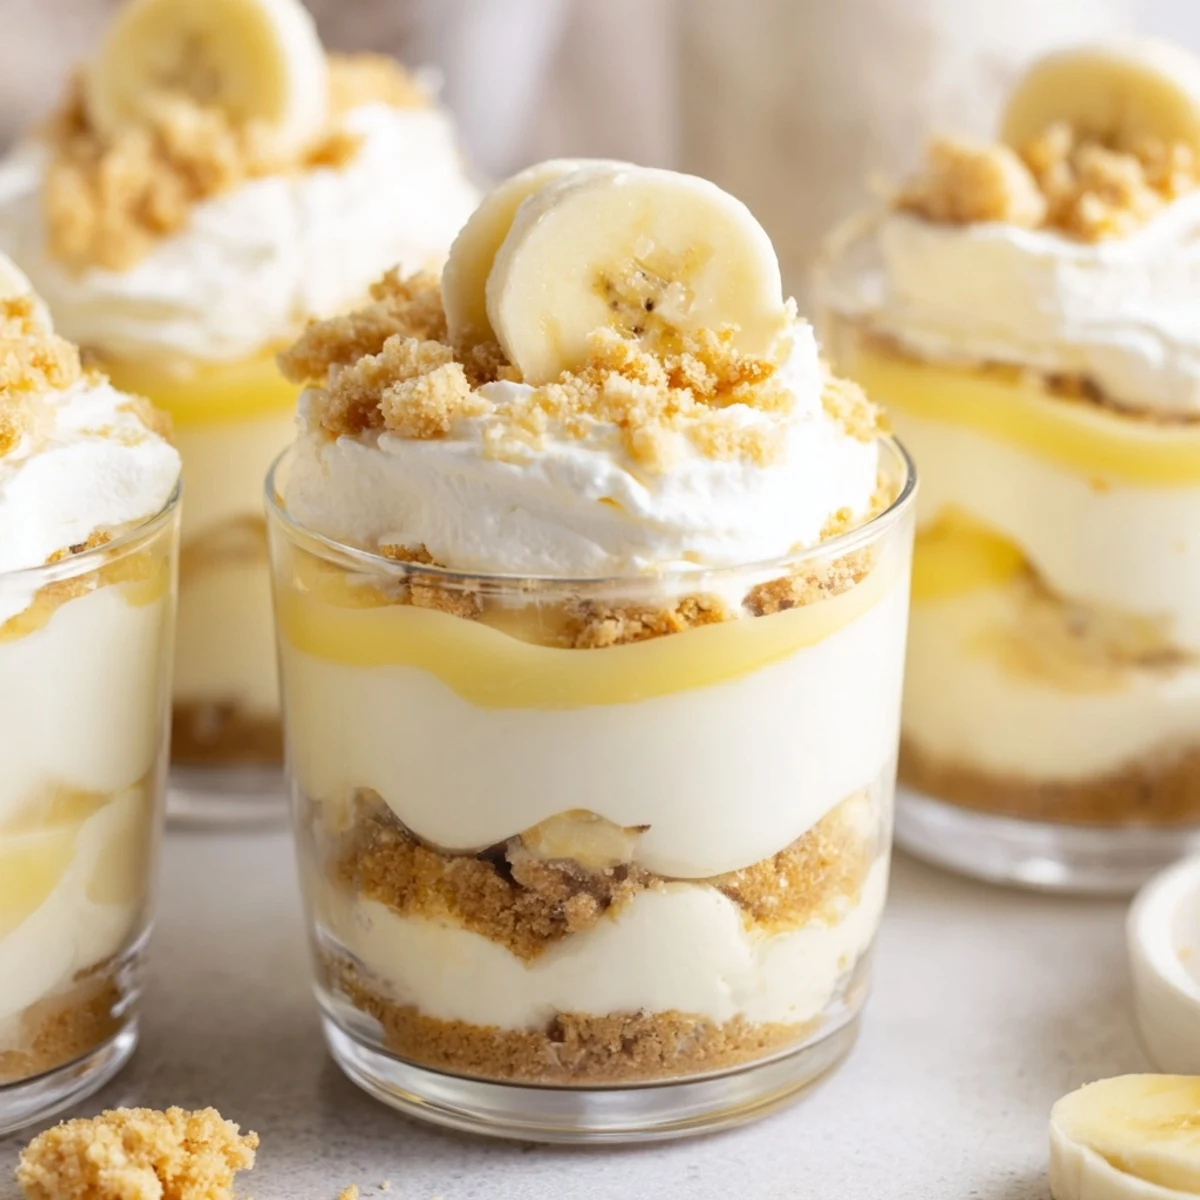
 These little cups have become my signature dessert because they make me look like I spent hours creating something complicated when the reality is I assembled them in twenty minutes while catching up on my favorite podcast. There's something deeply satisfying about serving individual desserts that make each person feel special.
Make Ahead Magic
You can absolutely assemble these cups up to twenty four hours in advance which makes them perfect for dinner parties or holiday gatherings. Just keep those fresh banana slices and whipped cream in your back pocket to add right before serving so everything looks freshly made and gorgeous.
Flavor Twists
My favorite secret addition is a tiny pinch of cinnamon mixed into the crust which adds this subtle warmth that makes people ask what's different about your version. Sometimes I'll drizzle a little caramel sauce between layers or swap half the vanilla wafers for graham crackers when I want something slightly different.
Presentation Perfection
Clear glass cups or jars are absolutely essential here because those beautiful layers are half the appeal of this dessert. I use whatever I have on hand from mason jars to wine glasses because the variety looks beautiful on a dessert table.
- Wide mouth cups make assembly so much easier
- A small offset spatula helps create perfectly smooth layers
- Chill your serving spoons before you start for extra neat presentation
 Pin to Pinterest
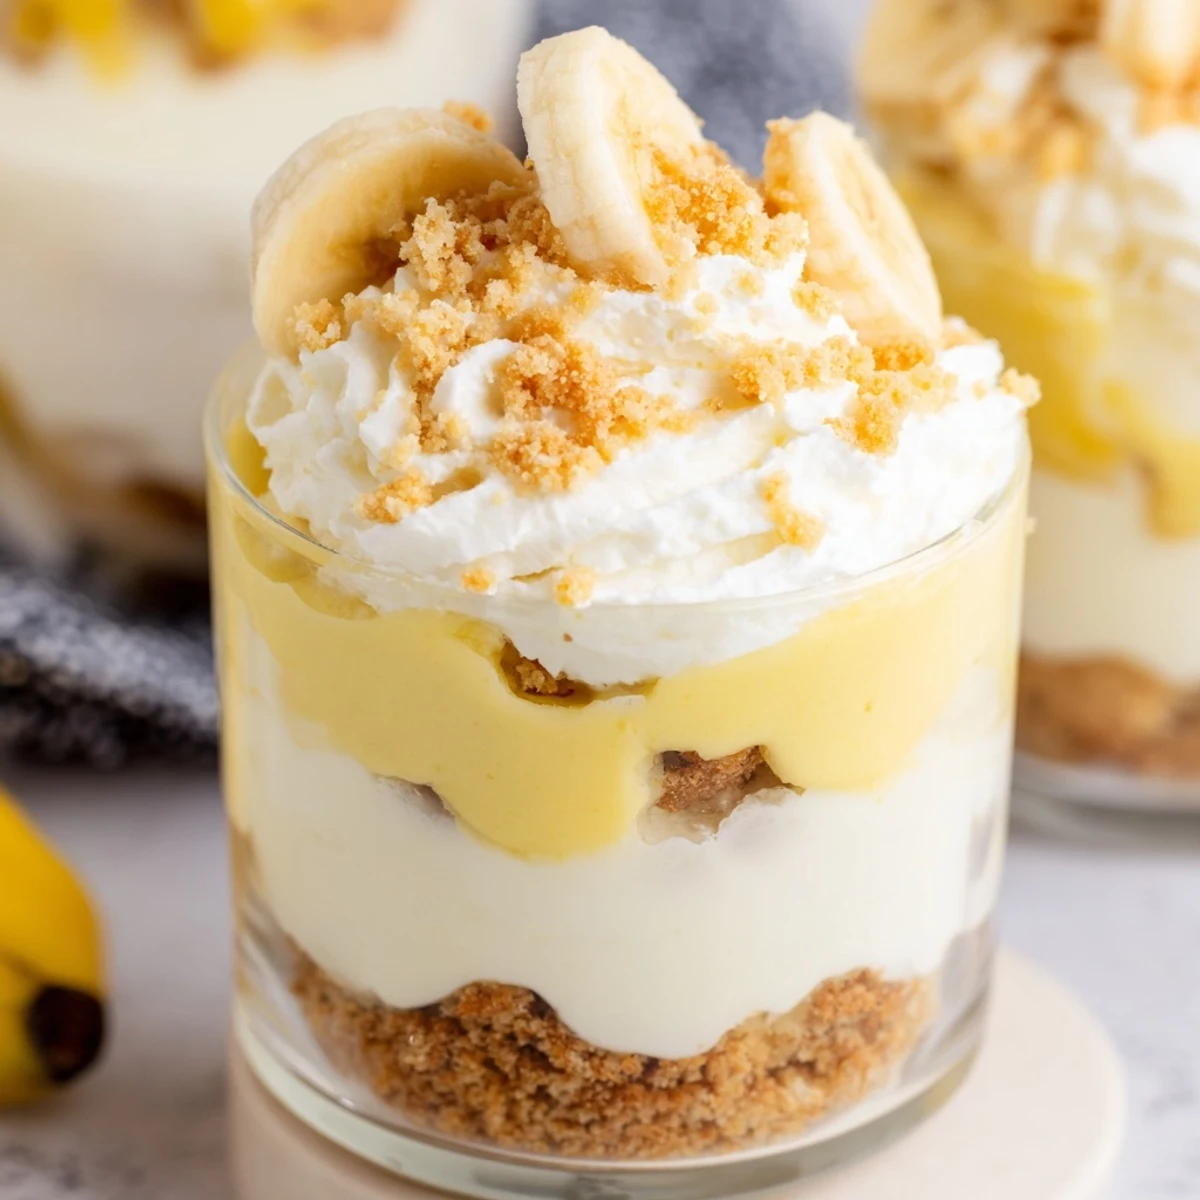
 There's something about serving individual desserts that makes any occasion feel a little more special and these cups never fail to make people smile. Hope they become your new favorite way to end a meal.
Recipe FAQs
- → How long do these cups need to chill before serving?
-
Refrigerate the cups for at least 2 hours to allow the layers to set properly. For optimal texture and flavor, they can be made up to 24 hours in advance, though fresh banana toppings should be added just before serving to prevent browning.
- → Can I use homemade banana pudding instead of instant mix?
-
Yes, homemade custard-style pudding works beautifully. Prepare it ahead and let it cool completely before layering. Keep in mind that homemade pudding may have a softer set than instant varieties, so adjust chilling time accordingly.
- → What's the best way to prevent bananas from turning brown?
-
Toss sliced bananas lightly in lemon juice before adding them to the layers. Alternatively, add the fresh banana toppings immediately before serving to minimize oxidation time.
- → Can I make these cups gluten-free?
-
Substitute gluten-free vanilla wafers or graham crackers for the crust. Ensure the banana pudding mix is certified gluten-free, as some brands contain thickeners derived from wheat.
- → How should I store leftover cheesecake cups?
-
Store covered in the refrigerator for up to 3 days. The texture remains creamy, though the banana slices may darken slightly. For best presentation, consider adding fresh banana slices when serving leftovers.
- → Can I freeze these no-bake cups?
-
Freezing is not recommended as the texture of the cream cheese filling and pudding can become grainy or watery upon thawing. These cups are best enjoyed fresh from the refrigerator within a few days of preparation.