 Pin to Pinterest
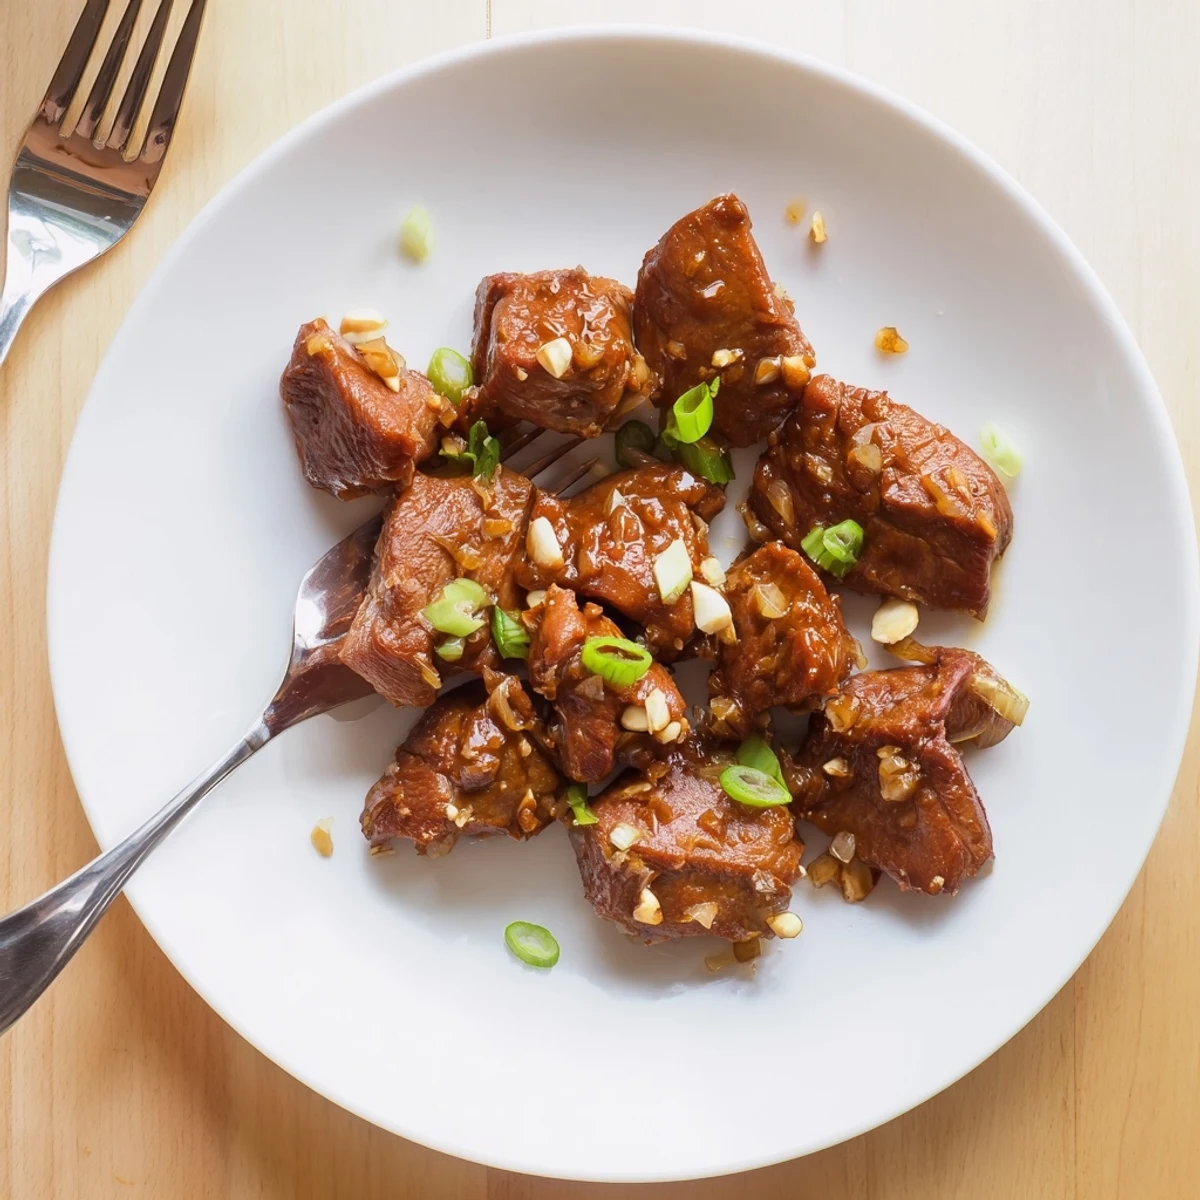
 This Asian-inspired dish transforms tender chicken pieces with a glossy, perfectly balanced sauce that hits both sweet and savory notes. The simple glaze combines soy sauce, brown sugar, and aromatics to create restaurant-quality flavor in your own kitchen.
Ready in just 25 minutes, this dish requires only seven pantry staples and delivers incredible depth despite its simplicity. The sauce thickens beautifully as it simmers, coating every piece of chicken in a rich, caramelized glaze that pairs perfectly with steamed rice or noodles.
Customize easily by adding red pepper flakes for heat or dusting chicken in cornstarch for extra crunch. The versatile nature of this dish makes it ideal for weeknight dinners when you want something impressive without spending hours in the kitchen.
The first time I made Mongolian chicken, I was honestly just trying to use up ingredients in my fridge. But when that sauce started bubbling and thickening, coating the chicken in this glossy, caramelized glaze, my whole kitchen smelled like takeout that somehow felt even better. Now it's the recipe I turn to when I want something that looks impressive but takes barely any effort at all.
Last Tuesday, my roommate walked in mid-cooking and immediately asked if we were ordering dinner. When I told her I was making it, she didnt believe me until she took that first bite. The way the sauce clings to each piece of chicken while still being pourable over rice is something I still havent mastered with any other stir-fry.
Ingredients
- 1 lb boneless chicken thighs or breasts: Thighs stay juicier but breasts work perfectly if thats what you have on hand
- 1/2 cup low-sodium soy sauce: Regular soy sauce can make it too salty, so low-sodium gives you more control
- 1/3 cup brown sugar: Dark brown sugar adds a deeper molasses flavor that pairs beautifully with the soy
- 1/4 cup water: This helps dissolve the sugar and prevents the sauce from becoming too thick too quickly
- 4 cloves garlic: Fresh minced garlic makes such a difference compared to jarred versions
- 1 tablespoon fresh ginger: I've tried skipping this to save time, but it's honestly what makes the dish taste authentic
- 2 tablespoons vegetable oil: A neutral oil lets the other flavors shine without competing
- 2 green onions: These add a fresh pop of color and mild onion flavor right at the end
Instructions
- Whisk together the sauce base:
- Combine the soy sauce, brown sugar, and water in a medium bowl, stirring until the sugar completely dissolves into the liquid.
- Get your pan nice and hot:
- Heat the vegetable oil in a large skillet or wok over medium-high heat until it shimmers slightly.
- Sear the chicken pieces:
- Add the chicken to the hot pan and cook for 4 to 5 minutes, turning occasionally until golden brown on all sides.
- Add the aromatic foundation:
- Toss in the minced garlic and grated ginger, stirring constantly for just 1 minute until fragrant.
- Pour in that magical sauce:
- Pour the sauce mixture over the chicken, stirring well to ensure every piece gets coated in the glaze.
- Let it thicken into perfection:
- Bring everything to a simmer and cook for 6 to 8 minutes, watching as the sauce reduces and clings to the chicken.
- Finish with fresh garnish:
- Remove from heat immediately and scatter sliced green onions over the top if you want that restaurant-style presentation.
 Pin to Pinterest
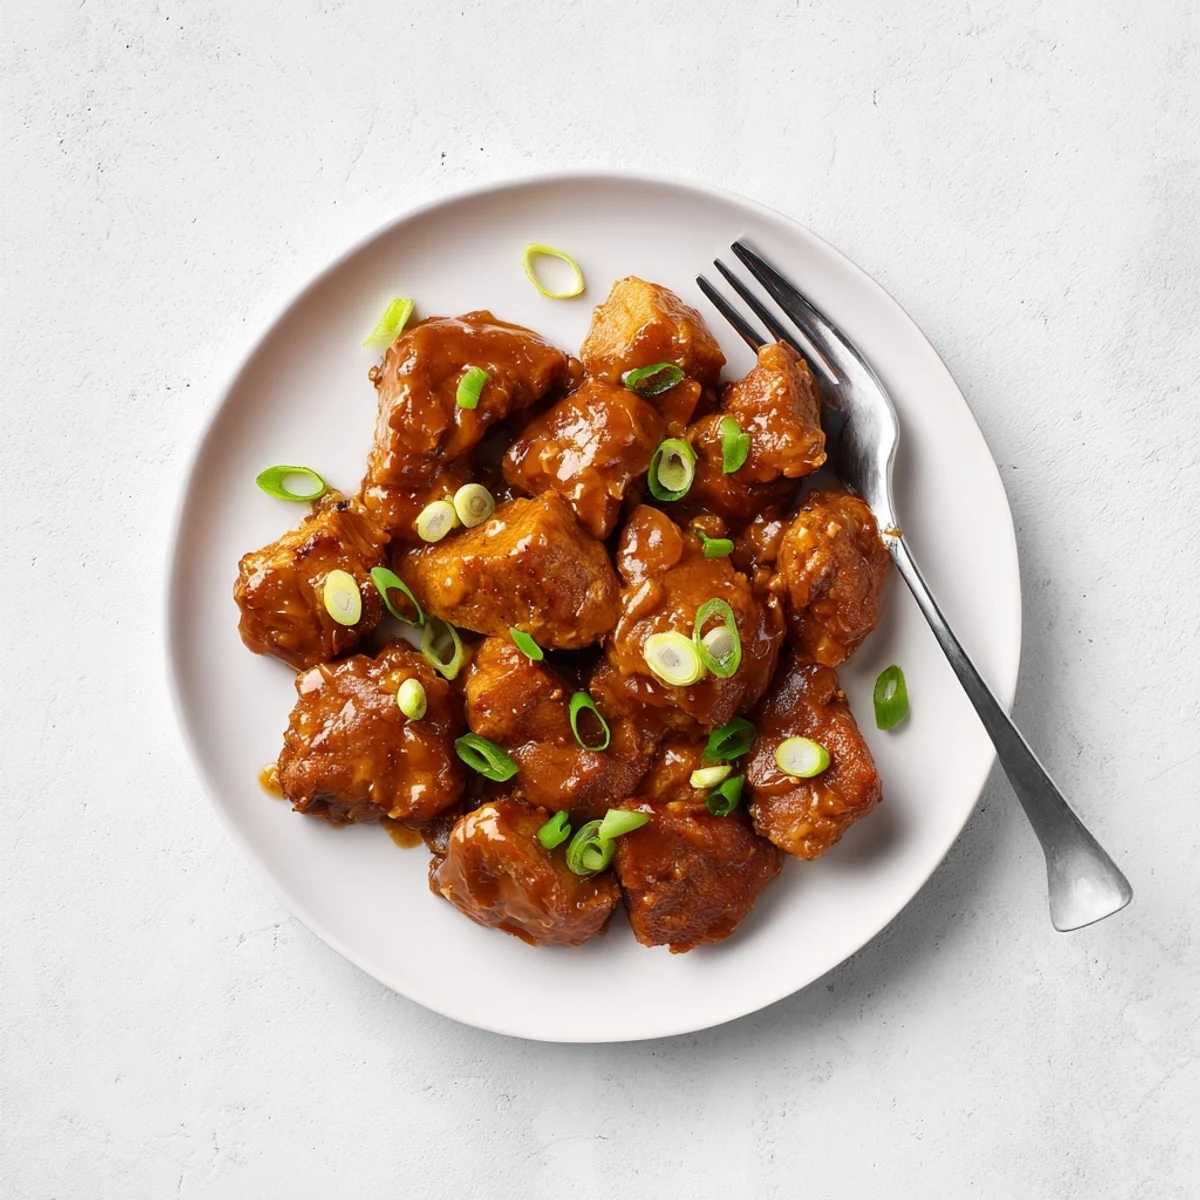
 This became my go-to dish when I started cooking dinner for my parents once a week. My dad, who's usually pretty quiet about food, actually asked for the recipe after his third serving.
Making It Your Own
I've learned that a light dusting of cornstarch on the chicken before cooking creates this incredible texture that's almost crispy. Sometimes I'll add a handful of snap peas or bell peppers in the last few minutes of cooking to sneak in some vegetables without changing the flavor profile.
Perfect Pairings
Steamed jasmine rice is the classic choice because it soaks up every drop of that sauce. But I've also served it over udon noodles for a more substantial meal, and my sister swears by cauliflower rice for a lighter version that still feels satisfying.
Timing Is Everything
I always start my rice before I even prep the ingredients because the chicken cooks so quickly. Having everything measured and ready before you turn on the heat makes the whole process feel effortless instead of rushed.
- Mince your garlic and grate your ginger while the oil heats up
- Use a large enough pan so the chicken can sear rather than steam
- Have your serving platter ready because this smells too good to wait
 Pin to Pinterest
 Theres something so satisfying about a recipe that delivers restaurant-quality results with ingredients you can pronounce and a process that doesnt leave you exhausted.
Recipe FAQs
- → What cut of chicken works best?
-
Boneless, skinless chicken thighs stay tender and juicy, but breasts work perfectly too. Cut into uniform bite-sized pieces for even cooking.
- → Can I make this gluten-free?
-
Substitute coconut aminos or tamari for the soy sauce. Ensure all other ingredients are certified gluten-free, particularly any sauces or seasonings.
- → How do I get the sauce thicker?
-
Simmer the sauce for the full 6–8 minutes to reduce naturally. For faster results, lightly dust chicken in cornstarch before cooking, or mix 1 teaspoon cornstarch with cold water and stir in during the last 2 minutes.
- → What sides pair well with this?
-
Steamed jasmine rice absorbs the sauce beautifully. Noodles, quinoa, or cauliflower rice work well. Serve with sautéed bok choy, steamed broccoli, or stir-fried vegetables for a complete meal.
- → Can I prepare this ahead?
-
The sauce can be mixed up to 2 days in advance and stored refrigerated. Cook the chicken fresh for best texture, though leftovers reheat well in the microwave or skillet.
- → How spicy is this dish?
-
The base version is mild with no heat. Add red pepper flakes to taste—start with 1/4 teaspoon for gentle warmth or increase to 1 teaspoon for noticeable spice.