 Pin to Pinterest
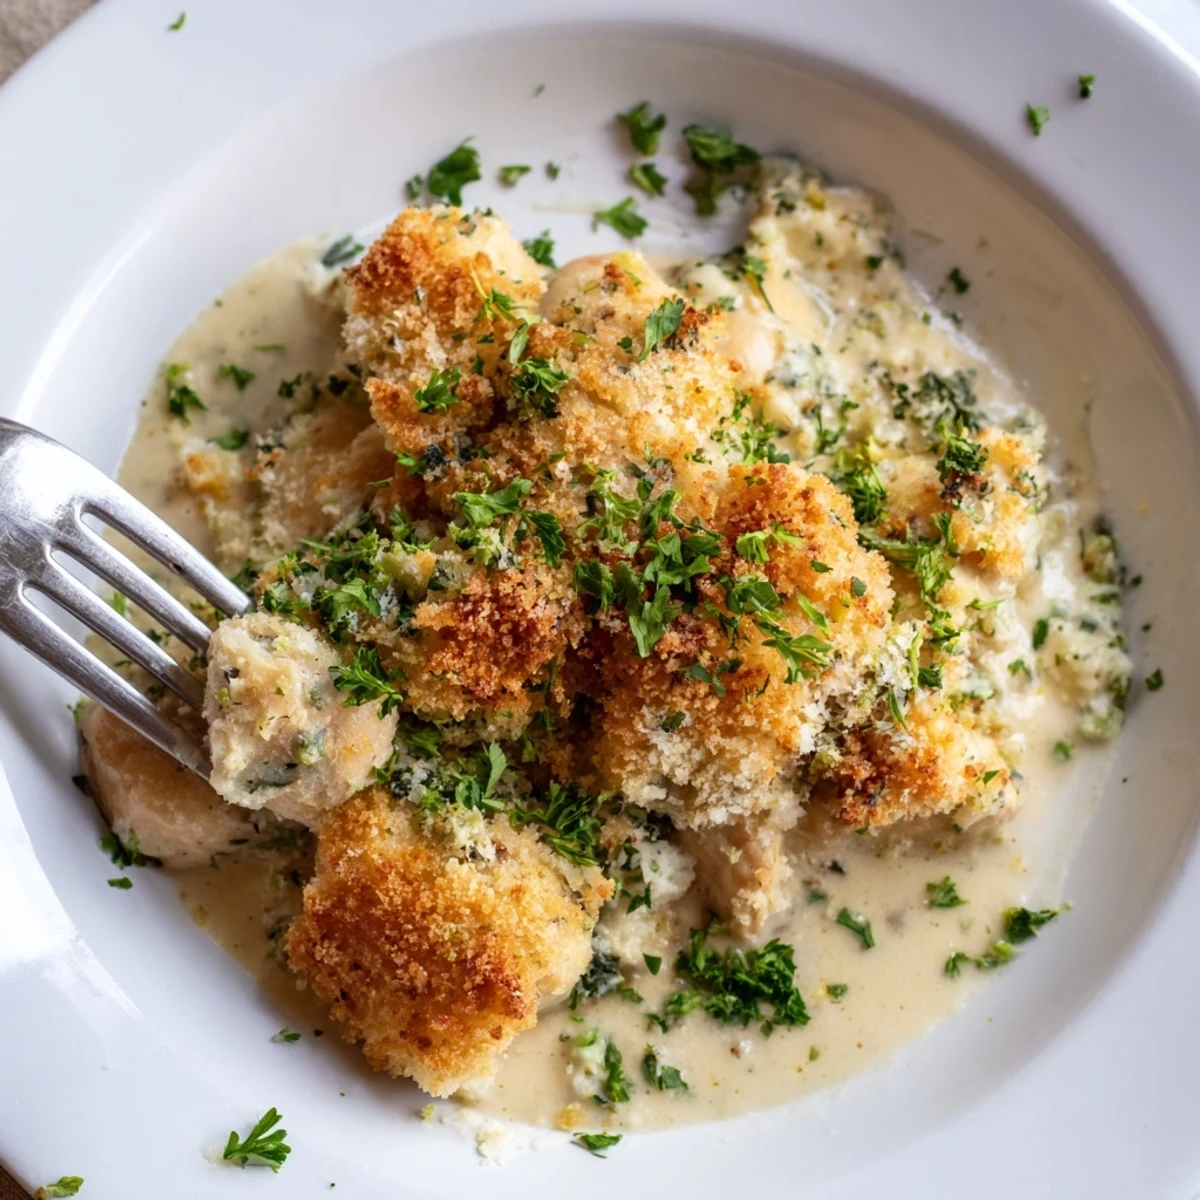
 This deconstructed Chicken Kiev casserole transforms the beloved Eastern European classic into an effortless one-pan dinner. Tender pieces of seared chicken are smothered in a rich garlic-herb butter sauce, then topped with a crunchy Parmesan-breadcrumb crust and baked until golden and bubbling.
Ready in under an hour with just 20 minutes of hands-on prep, it's an approachable weeknight meal that delivers all the flavors of traditional Chicken Kiev without the fuss of rolling and stuffing.
My oven door has a permanent smudge at eye level from where I press my face to watch breadcrumb toppings turn gold, and this casserole is entirely to blame. Something about the way garlic butter soaks into tender chicken while the edges bubble and crisp makes it impossible to look away. It started as a Tuesday night attempt to capture the magic of Chicken Kiev without the fussy rolling and toothpick routine. Six servings disappeared between three of us, and nobody apologized.
I made this for my neighbor Elena after she mentioned her grandmother used to spend two hours making Chicken Kiev every Christmas. She stood in my kitchen eating it straight from the baking dish with a serving spoon, tears in her eyes, saying it tasted like childhood without the wait.
Ingredients
- 1.5 lbs (680 g) boneless, skinless chicken breasts, cut into bite sized pieces: Cutting the chicken small means every piece gets coated in that buttery sauce and cooks evenly without drying out.
- 6 tbsp (85 g) unsalted butter, softened: Softened is key here because you need to blend the herbs and garlic into it smoothly before it melts into the sauce.
- 3 garlic cloves, minced: Fresh garlic only, and mince it finer than you think necessary so no one bites into a sharp raw chunk.
- 2 tbsp fresh parsley, chopped: Flat leaf parsley brings a brightness that dried simply cannot replicate in this dish.
- 1 tbsp fresh dill, chopped (optional): The dill is what whispers Eastern European comfort and makes this taste genuinely like a Kiev inspired dish.
- 1/2 tsp salt and 1/4 tsp black pepper: These go into the herb butter and another light pinch seasons the chicken directly.
- 1 tsp lemon juice: A tiny squeeze wakes up all the rich butter and makes the flavors pop instead of feeling heavy.
- 1 cup (240 ml) whole milk: Whole milk creates a richer sauce than low fat, and richness is the whole point of this dish.
- 1 cup (240 ml) low sodium chicken broth: Low sodium lets you control the salt level while still adding savory backbone to the sauce.
- 2 tbsp all purpose flour: Just enough to thicken the liquids into something that clings to the chicken instead of pooling at the bottom.
- 1 tbsp olive oil: Used for searing the chicken pieces to get that light golden color before baking.
- 1 cup (50 g) panko breadcrumbs: Panko stays lighter and crispier than regular breadcrumbs, which is exactly what you want on top.
- 1/4 cup (25 g) grated Parmesan cheese: Parmesan melts into the crumbs and creates a savory crust that shatters beautifully when you spoon into it.
- 2 tbsp unsalted butter, melted: Tossed with the topping to help it brown and give it that irresistible buttery crunch.
- 2 tbsp fresh parsley, chopped for garnish: A final scatter of green makes it look as vibrant as it tastes.
Instructions
- Get the oven ready:
- Preheat to 375 degrees F and grease a 9 by 13 inch baking dish so nothing sticks when you scoop out those generous portions later.
- Build the herb butter:
- Mash the softened butter with garlic, parsley, dill, salt, pepper, and lemon juice in a small bowl until it looks like a fragrant green flecked paste, then set it aside.
- Sear the chicken:
- Heat olive oil in a large skillet over medium high heat, add the chicken pieces with a light seasoning of salt and pepper, and cook until just golden on the outside and no longer pink inside, about 5 to 7 minutes, then transfer to your baking dish.
- Make the sauce base:
- In the same skillet, sprinkle flour and stir constantly for one minute, then gradually whisk in the milk and broth until smooth, letting it simmer until it thickens enough to coat the back of a spoon.
- Add the magic butter:
- Pull the skillet off the heat and whisk in that herb butter you made earlier until the sauce turns silky and smells absolutely incredible, then pour it evenly over the chicken in the dish.
- Build the crust:
- Toss panko, Parmesan, and melted butter together in a bowl and scatter it over the entire surface of the casserole in an even layer so every bite gets some crunch.
- Bake until golden:
- Slide the dish uncovered into the oven for 25 minutes until the top is deeply golden and the sauce is bubbling up around the edges like a delicious little volcano.
- Rest and garnish:
- Let it sit for 5 minutes after pulling it out so the sauce settles, then scatter fresh parsley on top and serve while it is still hot and bubbling.
 Pin to Pinterest
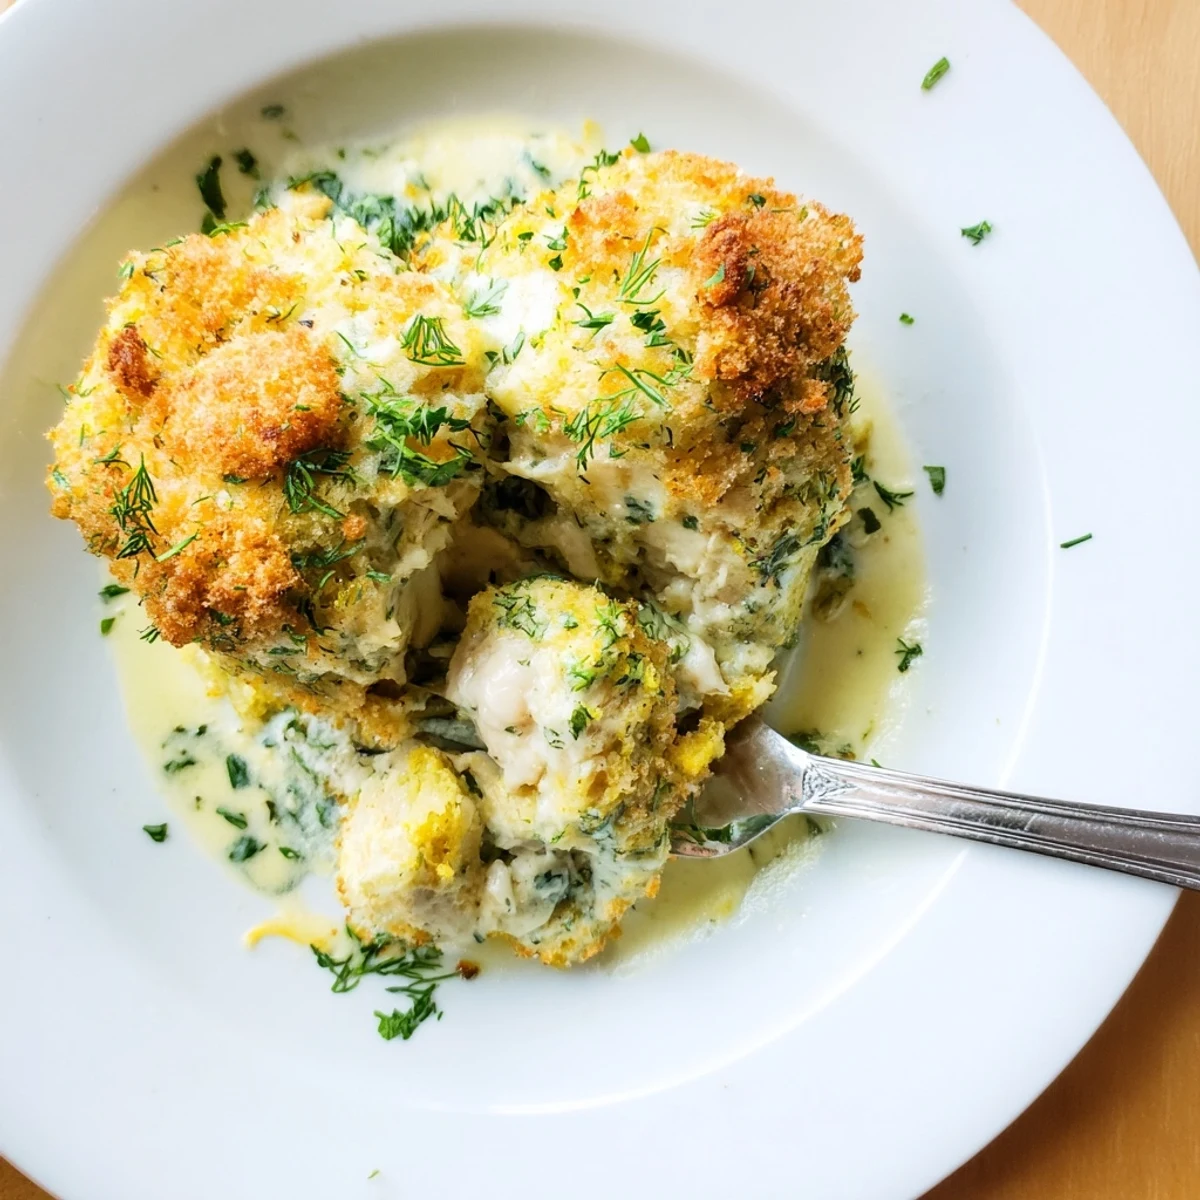
 The night I served this on proper plates with a side salad and crusty bread, my dining room fell completely silent except for the sound of spoons scraping ceramic.
Making It Your Own
Slide a handful of shredded Gruyere or mozzarella between the chicken and the topping if you want an extra layer of gooey indulgence that pulls when you spoon it out.
What to Serve Alongside
Steamed broccoli or a peppery arugula salad with lemon vinaigrette cuts through the richness perfectly and makes the meal feel complete without competing with the casserole.
Leftovers and Storage
This reheats surprisingly well the next day if you cover it with foil and warm it at 350 degrees F until bubbly again, though the topping softens a bit.
- Store leftovers covered in the refrigerator for up to three days.
- Avoid microwaving if you want to preserve any of that crunch.
- Chicken thighs work beautifully in place of breasts if you prefer darker meat.
 Pin to Pinterest
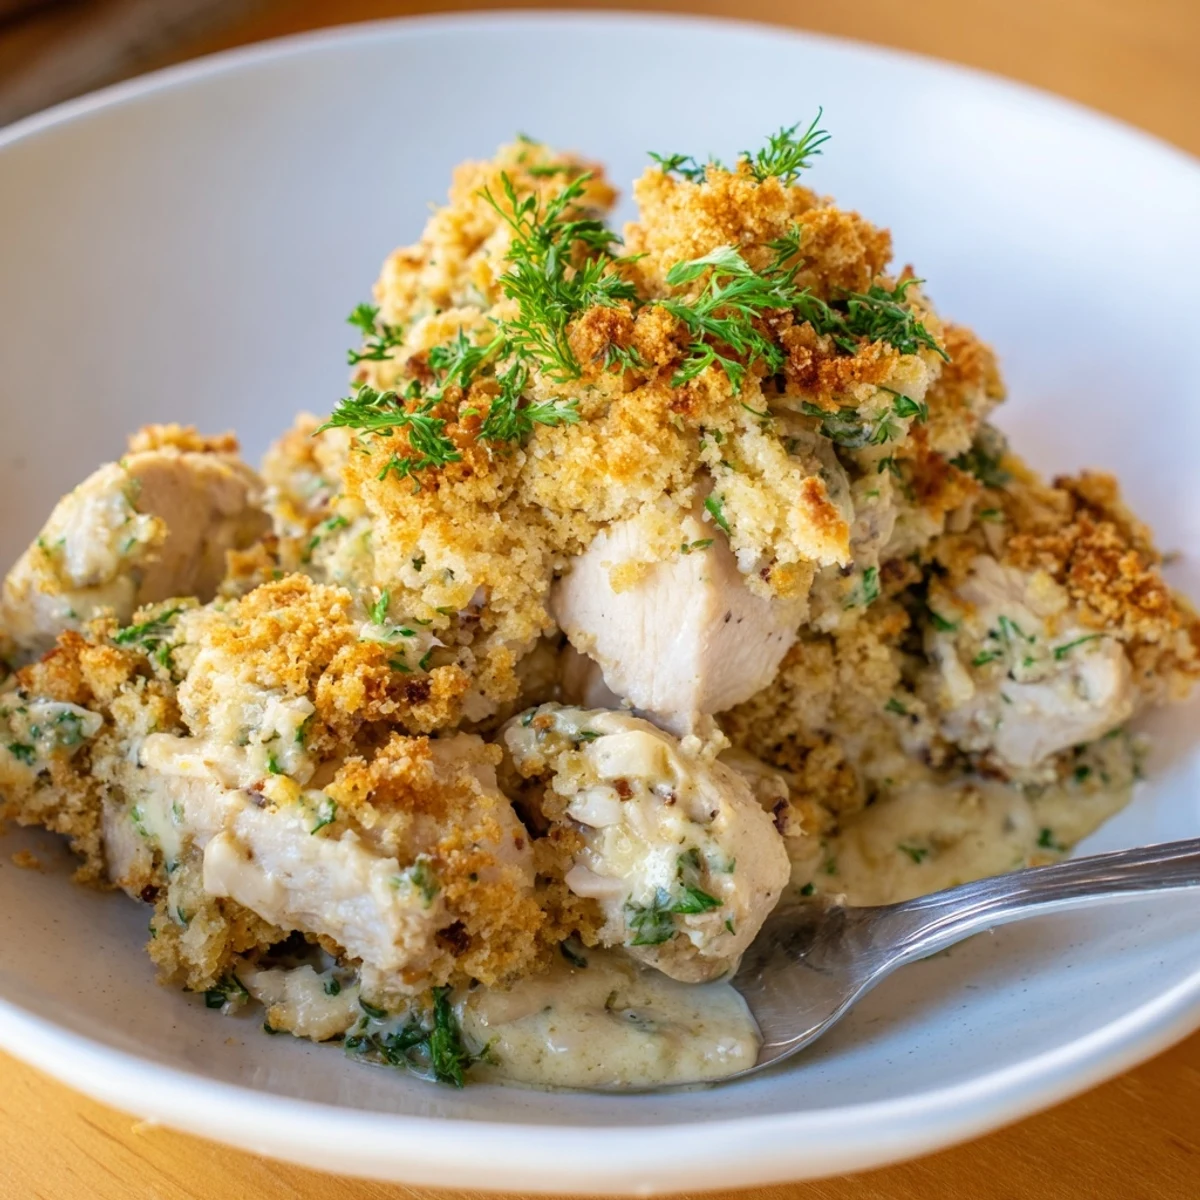
 Some recipes become staples because they are easy, but this one earned its spot because it makes people close their eyes when they take the first bite. That is all the proof you need.
Recipe FAQs
- → Can I use chicken thighs instead of breasts?
-
Yes, boneless skinless chicken thighs work wonderfully in this casserole. They remain even juicier and more forgiving during baking. Just cut them into similar bite-sized pieces and follow the same instructions.
- → How do I store and reheat leftovers?
-
Store leftovers in an airtight container in the refrigerator for up to 3 days. Reheat individual portions in the microwave, or warm the entire dish in a 350°F oven for about 15 minutes until heated through. The topping may soften but will still taste delicious.
- → Can I prepare this casserole ahead of time?
-
Absolutely. You can assemble the entire casserole up to 24 hours in advance, cover it tightly, and refrigerate. Add the breadcrumb topping just before baking. You may need to add 5 to 10 extra minutes to the baking time if going straight from the refrigerator.
- → What should I serve with Chicken Kiev Casserole?
-
This rich and creamy dish pairs well with lighter sides. Steamed green beans, a crisp garden salad, roasted asparagus, or buttered egg noodles all complement the flavors beautifully. A side of crusty bread is perfect for soaking up the extra sauce.
- → Can I freeze this casserole?
-
Yes, you can freeze it before or after baking. Wrap the assembled casserole tightly in foil and freeze for up to 2 months. Thaw overnight in the refrigerator before baking. If baking from frozen, add approximately 15 to 20 minutes to the cooking time and cover with foil to prevent over-browning.
- → What can I substitute for panko breadcrumbs?
-
Regular breadcrumbs work fine, though they produce a slightly less crunchy topping. Crushed crackers, cornflake crumbs, or even crushed Ritz crackers make excellent alternatives. For a gluten-free option, use gluten-free breadcrumbs or crushed rice cereal.