 Pin to Pinterest
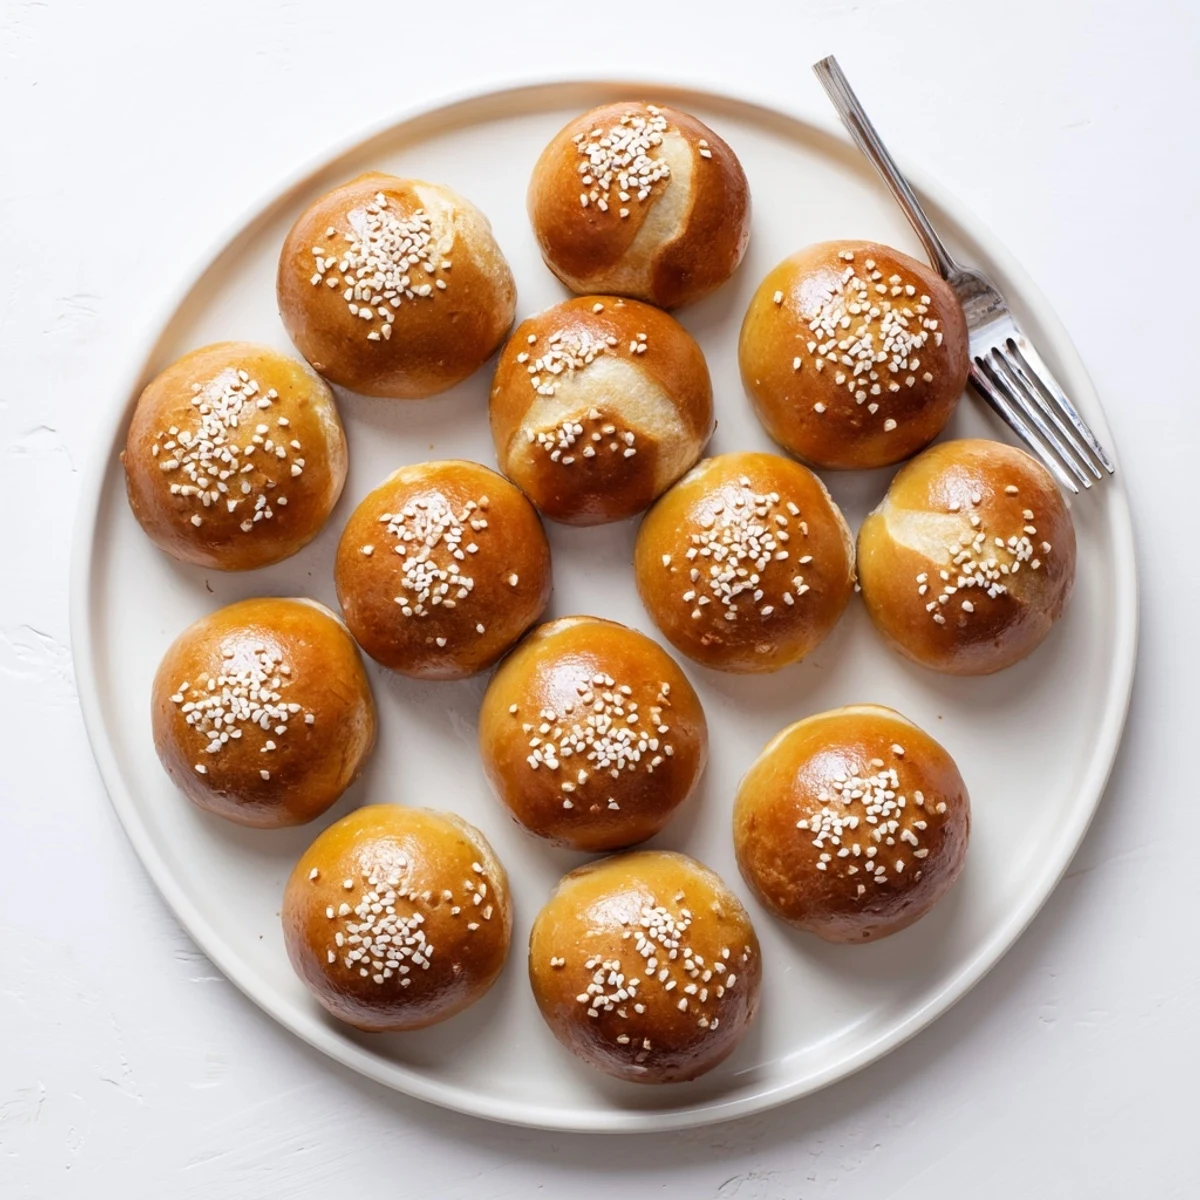
 These handheld bites combine the chewy, salted exterior of classic soft pretzels with a savory cheeseburger filling inside. Each bomb features seasoned ground beef mixed with ketchup, mustard, diced pickles, and shredded cheddar, all wrapped in pretzel dough that gets boiled in a baking soda bath before baking to achieve that signature deep golden pretzel crust.
The process involves making a simple yeast dough, browning the beef filling with classic burger toppings, then wrapping and sealing portions of filling inside dough balls. A quick dip in the baking soda bath creates the authentic pretzel flavor and texture, while an egg wash and coarse salt finish delivers that satisfying crunch.
Great for parties, game day spreads, or as a fun appetizer that captures everyone's favorite burger flavors in portable form. Serve warm with extra condiments for dipping.
The smell of baking pretzels always pulls me into the kitchen, but when you add cheeseburger filling inside, something magical happens. I discovered these during a Super Bowl party years ago when my friend Sarah brought over a batch that disappeared in five minutes flat.
Last November, my teenage nephew walked in while I was boiling the pretzel balls and stared like I was performing science experiments. Fifteen minutes later, he stood by the oven door refusing to leave until they were done, then ate six while claiming he was just quality control testing.
Ingredients
- All-purpose flour: Bread flour gives extra chew but regular flour works perfectly fine
- Instant yeast: No need to proof it first, just mix directly with the dry ingredients
- Warm water: Should feel like bath temperature, around 110°F, nothing hot enough to kill the yeast
- Ground beef: 80/20 ratio gives the best flavor and moisture balance
- Shredded cheddar: Shred it yourself if you can, pre-shredded cheese has anti-caking agents that affect melting
- Baking soda: This is what creates that signature pretzel flavor and deep brown color
Instructions
- Mix and Knead the Dough:
- Combine flour, yeast, salt, and sugar in a large bowl, then pour in the warm water and melted butter. Stir until everything comes together in a shaggy mess, then knead on a lightly floured surface for 5 to 7 minutes until the dough feels smooth and springs back when you poke it.
- Let It Rest:
- Cover the bowl with a clean towel and let the dough relax for 15 minutes while you make the filling.
- Cook the Filling:
- Brown the ground beef and diced onion in a skillet over medium heat for about 5 minutes, breaking up the meat as it cooks. Drain off the excess fat, then stir in the salt, pepper, garlic powder, ketchup, mustard, and chopped pickles. Let it cool slightly before folding in the shredded cheese.
- Shape the Bombs:
- Preheat your oven to 425°F and line a baking sheet with parchment paper. Divide the dough into 16 equal pieces, flatten each into a small circle, and place about 1 tablespoon of filling in the center. Pinch the edges tightly to seal and roll into smooth balls.
- The Pretzel Bath:
- Bring 6 cups of water to a boil in a large pot, then carefully stir in the baking soda. Boil each dough ball for 20 seconds, remove with a slotted spoon, and place on the prepared baking sheet.
- Bake Until Golden:
- Brush each bomb with beaten egg and sprinkle with coarse salt. Bake for 12 to 15 minutes until they are deep golden brown and the pretzel crust has formed.
 Pin to Pinterest
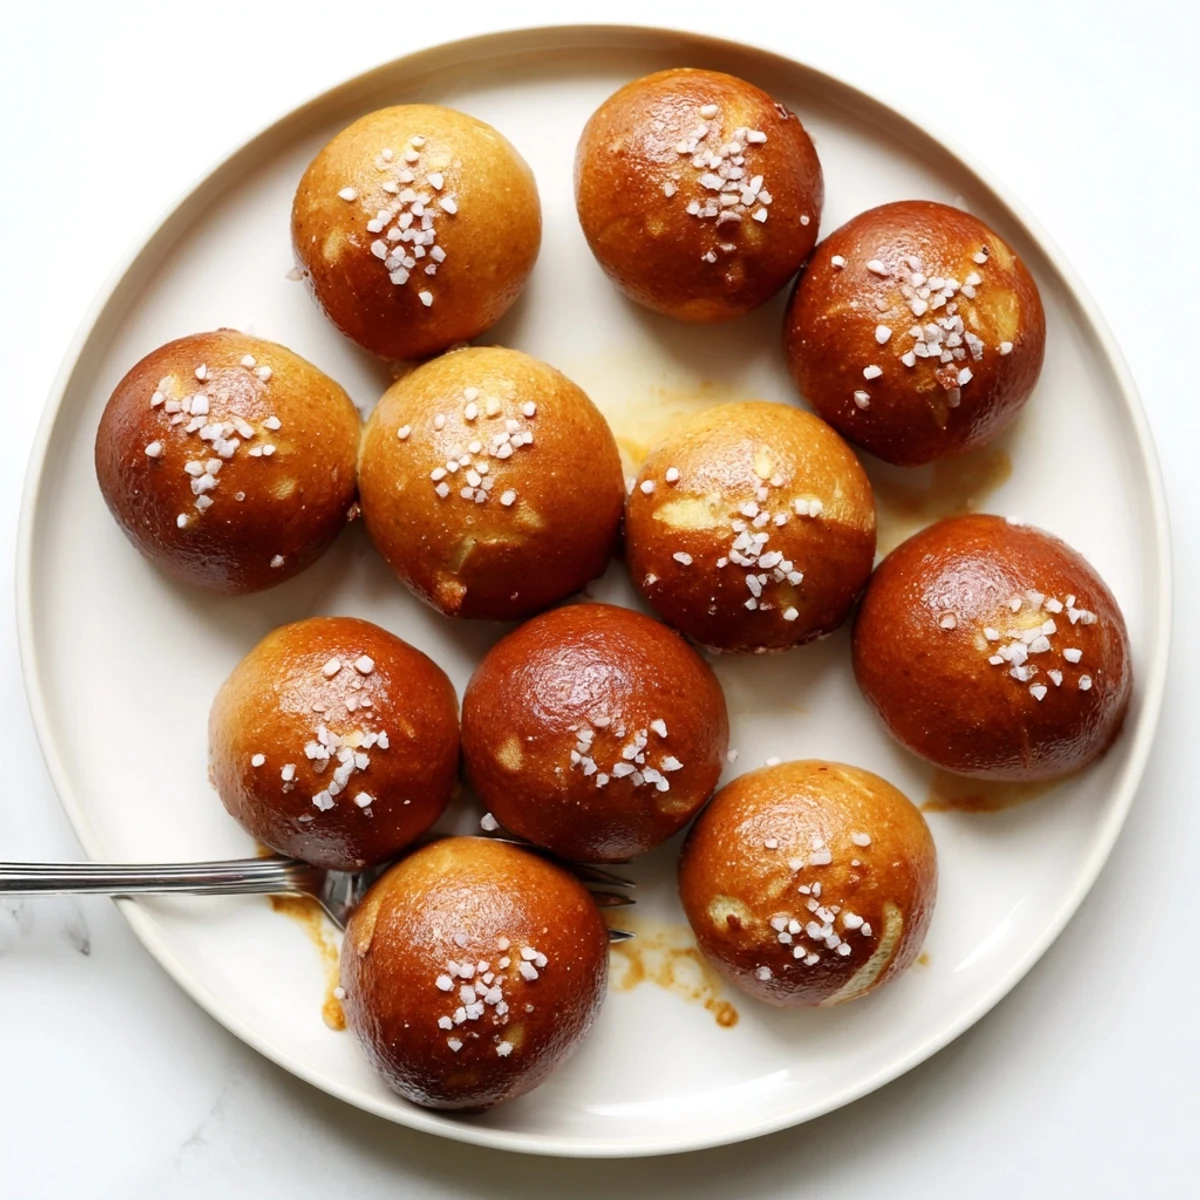
 My dad still talks about the first time he tried these, mostly because he accidentally bit into one too quickly and burned his tongue but refused to stop eating them. Now he requests them every time he visits.
Freezing Instructions
After baking, let the pretzel bombs cool completely then arrange them in a single layer on a baking sheet and freeze until solid. Transfer to a freezer bag and store for up to 3 months. Reheat at 350°F for about 10 minutes until warmed through.
Cheese Variations
Monterey Jack melts beautifully and adds a mild creaminess while pepper jack brings just enough heat to make things interesting. I have tried grating up some gouda when feeling fancy and that smoky flavor works surprisingly well with the beef.
Serving Ideas
Set out small bowls of ketchup, mustard, and a spicy aioli for dipping. These work perfectly alongside beer, soft pretzels, or even as part of a game day spread with wings and nachos.
- Make mini versions using half the dough portion size for cocktail parties
- Serve with a simple pickle and potato chip plate on the side
- Keep extra warm in a 200°F oven if serving a crowd
 Pin to Pinterest
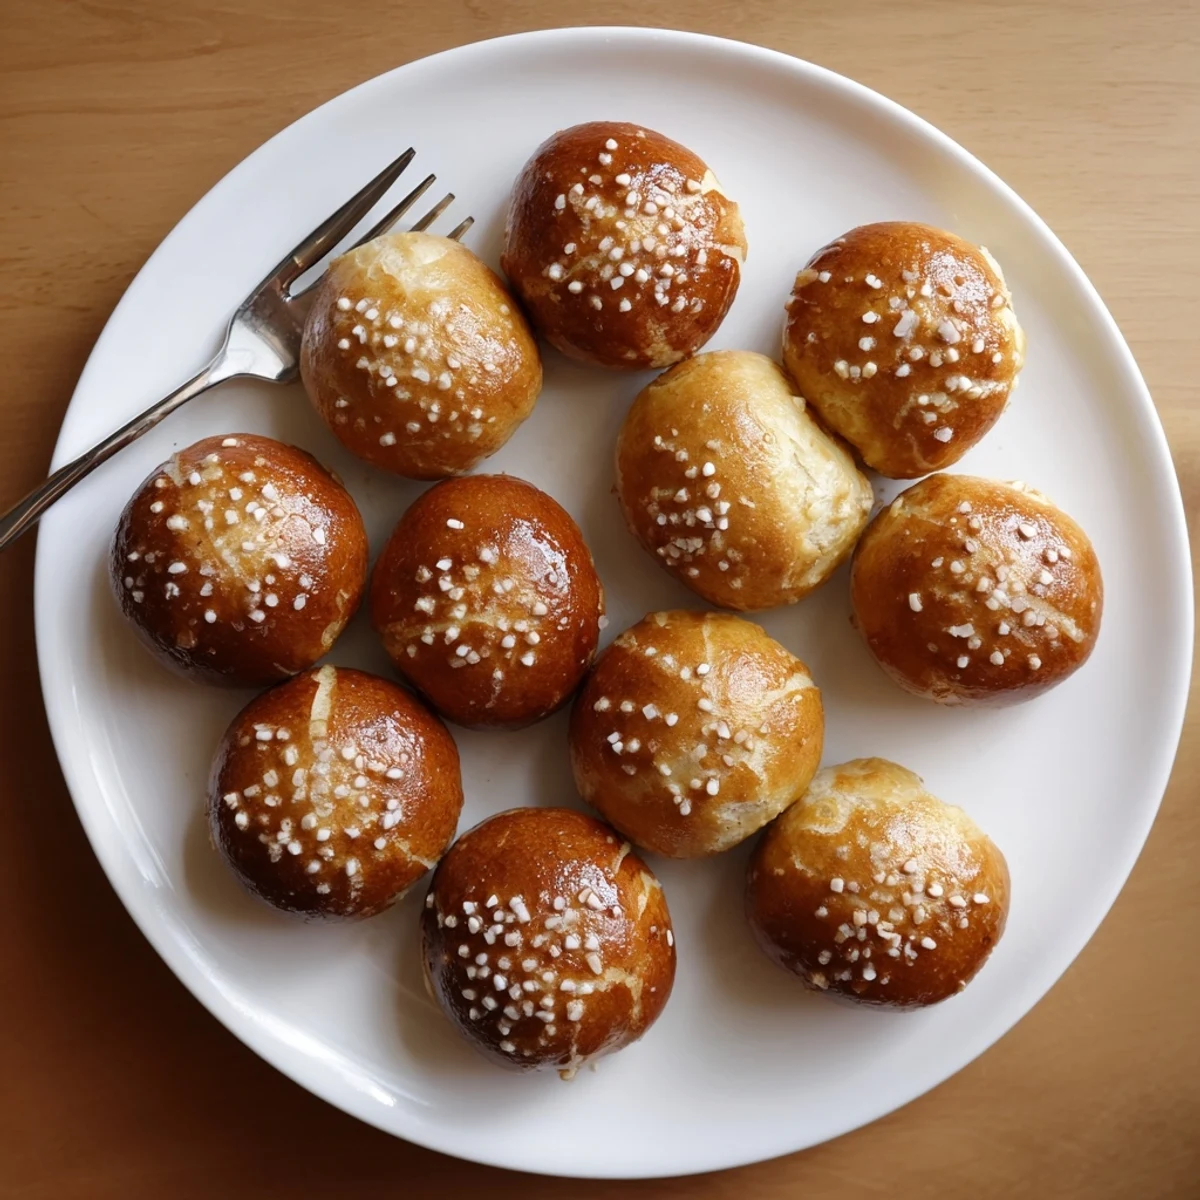
 These pretzel bombs have become my go-to for feeding hungry crowds, and honestly, nothing beats watching someone bite into one expecting a regular pretzel and getting that surprise cheeseburger center instead.
Recipe FAQs
- → Can I make these ahead of time?
-
Yes, you can assemble the bombs and refrigerate them for up to 24 hours before boiling and baking. Alternatively, freeze unboiled bombs on a baking sheet, then transfer to a freezer bag for up to 3 months. Boil and bake frozen bombs, adding 2-3 minutes to baking time.
- → Why do I need the baking soda bath?
-
The baking soda bath creates the classic pretzel flavor and chewy, shiny crust. The alkaline solution gelatinizes the dough's surface, resulting in that deep golden-brown color and distinctive pretzel taste you can't achieve through baking alone.
- → Can I use different cheese?
-
Absolutely. While sharp cheddar provides classic cheeseburger flavor, you can use Monterey Jack for milder taste, pepper jack for heat, or a mix of cheeses. Just avoid fresh mozzarella as it releases too much moisture during baking.
- → How do I store leftovers?
-
Store cooled bombs in an airtight container at room temperature for up to 2 days. For longer storage, refrigerate for up to 5 days. Reheat in a 350°F oven for 5-7 minutes to restore crispness. Microwave reheating will make them soft.
- → Can I make these vegetarian?
-
Yes, substitute the ground beef with plant-based ground meat crumbles. Cook them the same way with onions and seasonings. The texture and flavor work well, and the cheesy filling keeps everything satisfying and rich.
- → Why is my dough not rising?
-
Ensure your water is warm (105-110°F), not hot, as high temperatures kill yeast. Check that your yeast is fresh and not expired. If your kitchen is cold, let the dough rest in a slightly warm area, like an oven with just the light on.