 Pin to Pinterest
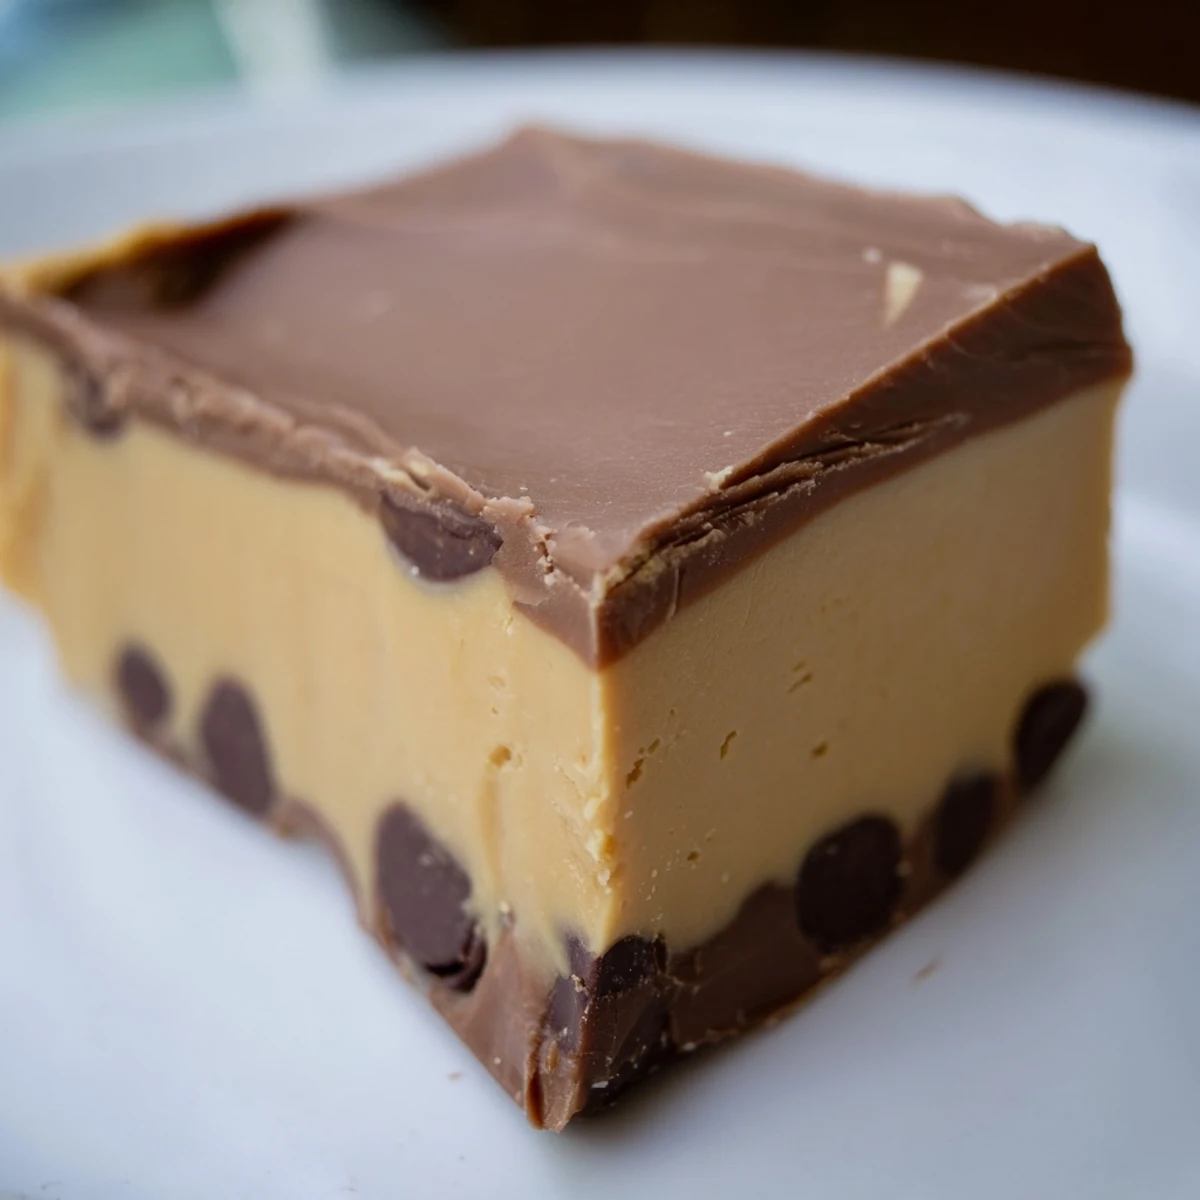
 This indulgent dessert features a smooth chocolate base paired with creamy peanut butter, layered and chilled to perfection. Combining semi-sweet chocolate chips, sweetened condensed milk, and butter for the chocolate layer, then a creamy peanut butter blend enriched with condensed milk and a hint of salt and vanilla, it offers a balanced sweetness and texture. Perfectly chilled, cut into squares, and enjoyed as a decadent treat, it’s ideal for dessert trays or gifting. Variations include adding roasted peanuts for crunch or substituting with almond or cashew butter.
My neighbor handed me a box of these chocolate peanut butter fudge squares one afternoon, and I ate three before even sitting down. She wouldn't share her recipe, so I spent months reverse-engineering it in my kitchen, making batch after batch until I cracked it. Now I make them whenever I need to win someone over or just want that moment of biting through thick chocolate into creamy peanut butter. It's become my answer to almost every dessert occasion.
I brought these to a potluck once and watched them disappear in minutes while my elaborate pasta sat barely touched. That's when I realized the simplest sweets often mean the most, and sometimes the best gifts come wrapped in foil and delivered with no fanfare at all.
Ingredients
- Semisweet chocolate chips (1 cup): Use chips rather than chopped chocolate because they melt more evenly and give you that smooth, glossy finish that makes these feel professionally made.
- Sweetened condensed milk (1/2 cup for chocolate, 1/4 cup for peanut butter): This is the secret ingredient that keeps everything creamy and prevents grittiness, so don't skip or substitute it with regular milk.
- Unsalted butter (1 tablespoon for each layer): Butter helps both layers meld together smoothly and adds a subtle richness that condensed milk alone can't provide.
- Vanilla extract (1/2 teaspoon per layer): A small amount lifts the flavors and keeps the fudge from tasting one-dimensional.
- Creamy peanut butter (3/4 cup): Use the kind that's just peanuts and salt, not the super-whipped versions, because the texture holds better when chilled.
- Salt (1/4 teaspoon): This tiny pinch makes the peanut butter layer pop and balances the sweetness so it doesn't become cloying.
Instructions
- Prepare Your Pan:
- Line an 8-inch square pan with parchment paper, letting the edges hang over the sides so you can lift the whole thing out later without wrestling with it. This small step saves you frustration when it's time to cut.
- Melt the Chocolate Layer:
- Combine chocolate chips, 1/2 cup condensed milk, and 1 tablespoon butter in a heatproof bowl and melt gently over simmering water or in the microwave in short 20-second bursts, stirring between each one. The gentle heat prevents the chocolate from seizing up and keeps the texture silky instead of grainy.
- Set the Chocolate:
- Pour the chocolate into the pan, smooth the top with a spatula, and refrigerate for 20 to 30 minutes until it's set but still slightly soft to the touch. You want it firm enough to hold the peanut butter layer without sinking, but not rock-hard.
- Make the Peanut Butter Layer:
- While the chocolate sets, combine peanut butter, 1/4 cup condensed milk, 1 tablespoon butter, and salt in another bowl and warm gently until everything is smooth and spreadable. Stir in the vanilla, then taste a tiny bit on your finger to check the balance of sweetness and salt.
- Spread and Chill:
- Spread the peanut butter mixture over the chocolate layer with a spatula, working gently so you don't disturb the chocolate beneath. Return to the refrigerator for at least 2 hours, or overnight if you have time, so everything sets completely and becomes easy to cut cleanly.
- Cut and Store:
- Lift the whole block out using the parchment paper overhang, place it on a cutting board, and use a sharp knife to cut 16 squares, wiping the blade between cuts for cleaner edges. Store in an airtight container in the fridge where they'll keep for up to two weeks, though they rarely last that long.
 Pin to Pinterest
 My daughter asked to help make these once, and we ended up having a whole conversation about her day while waiting for the chocolate to set. Now whenever I make them, I think of that quiet afternoon in the kitchen and realize these squares are as much about the moments they create as they are about how they taste.
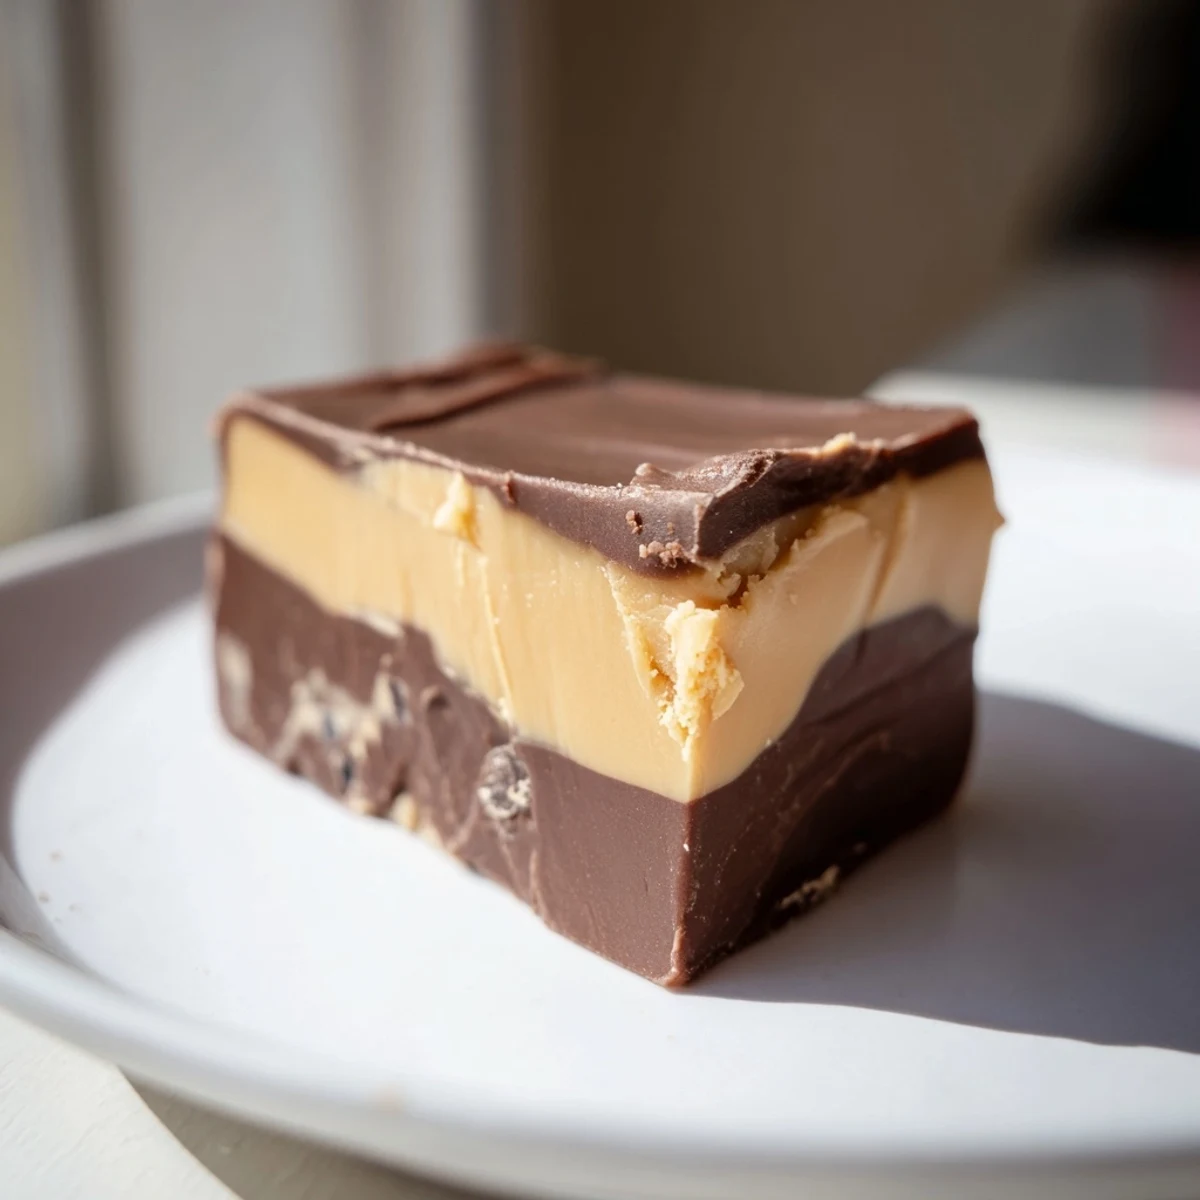
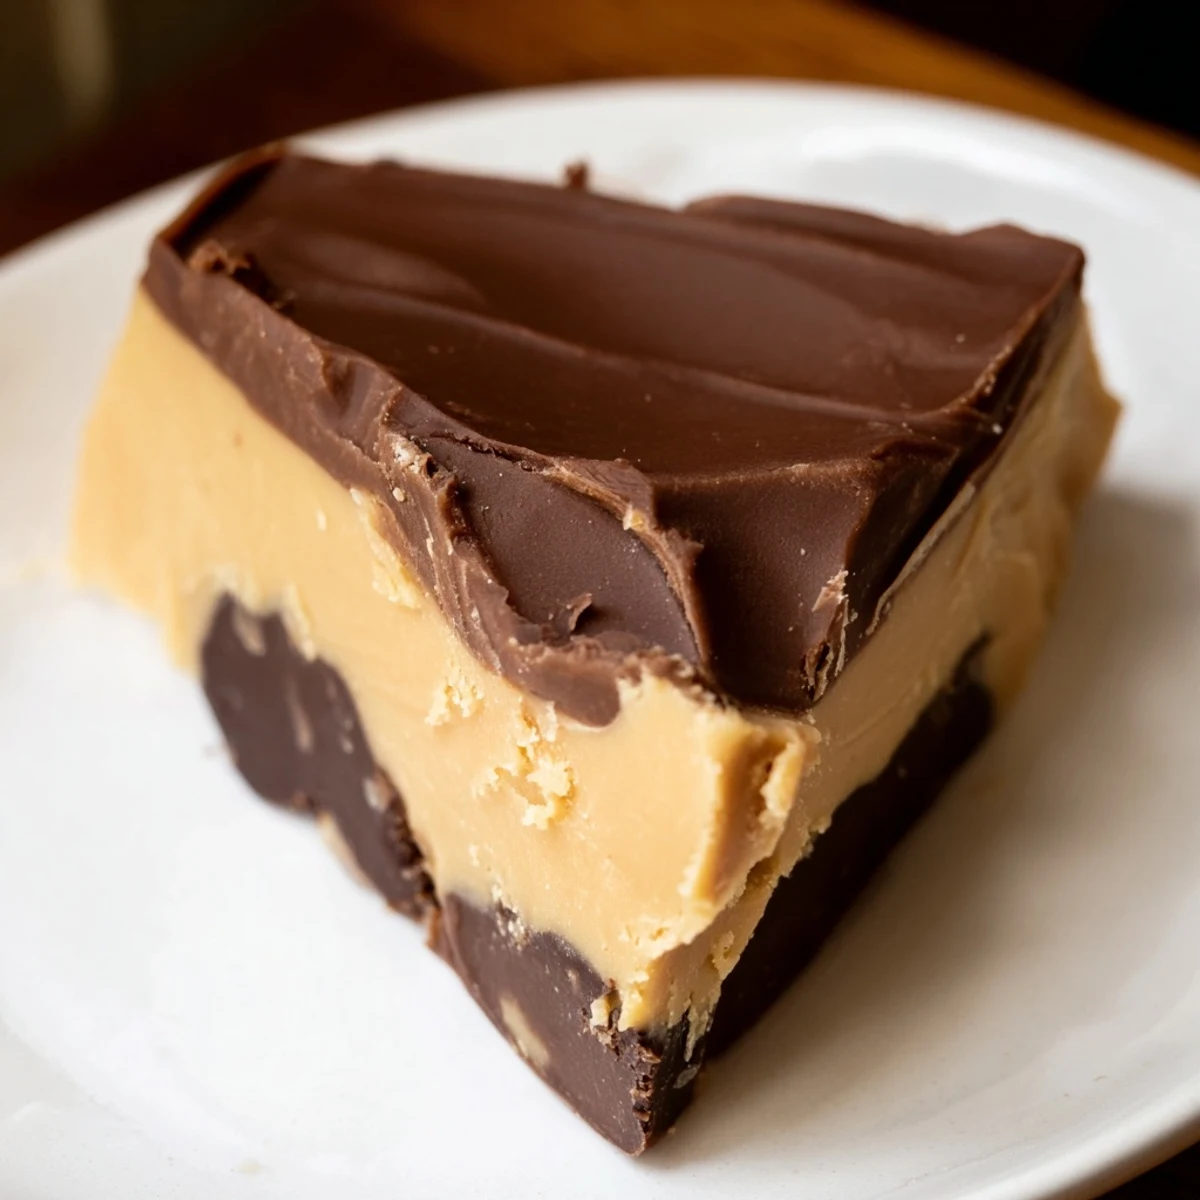
Why the Double-Layer Matters
The magic isn't just in the two flavors individually, but in how they work against each other. The chocolate provides richness and slight bitterness while the peanut butter brings smoothness and subtle saltiness, and together they create something that feels more luxurious than either flavor alone. It's why people always reach for a second square, chasing that specific combination they can't quite replicate with separate foods.
Making Them Your Own
Once you nail the basic formula, the variations become obvious and fun to explore. I've sprinkled crushed pretzels on the peanut butter layer for crunch, drizzled the top with white chocolate, and even tried swapping in almond butter for a lighter flavor. The structure is so forgiving that you can experiment without worrying you'll ruin the whole batch.
Gifting and Serving Ideas
These fudge squares feel fancy enough to give as gifts but are casual enough to bring to a weeknight gathering, which is a rare sweet spot that makes them my go-to contribution. Wrap them in parchment and tie with twine, or stack them in a small box with tissue paper for something that looks intentional without requiring a bakery trip.
- Serve cold straight from the refrigerator with a glass of cold milk or strong coffee to cut through the richness.
- If you're bringing them to someone's house, add a note that says they keep in the fridge for two weeks so your hosts don't feel pressured to eat them all at once.
- These also freeze beautifully for up to a month if you want to make a double batch and save some for unexpected moments.
 Pin to Pinterest
 There's something deeply satisfying about making sweets that taste expensive but cost almost nothing and take barely any skill. These fudge squares have become my favorite kind of kitchen project, the ones that remind me why I love cooking in the first place.
Recipe FAQs
- → How do I prevent the layers from mixing?
-
Chill the chocolate layer until it’s firm before spreading the peanut butter mix on top, ensuring clean distinct layers.
- → Can I substitute peanut butter with other nut butters?
-
Yes, almond or cashew butter can be used for a different flavor profile while maintaining creamy texture.
- → What is the best way to melt the chocolate without burning?
-
Use a double boiler or microwave in short 20-second bursts, stirring between intervals to avoid scorching.
- → How should I store the finished squares?
-
Keep them refrigerated in an airtight container to maintain freshness and texture for several days.
- → Can I add texture to this dessert?
-
Sprinkling chopped roasted peanuts on top before chilling adds a delightful crunch.