 Pin to Pinterest
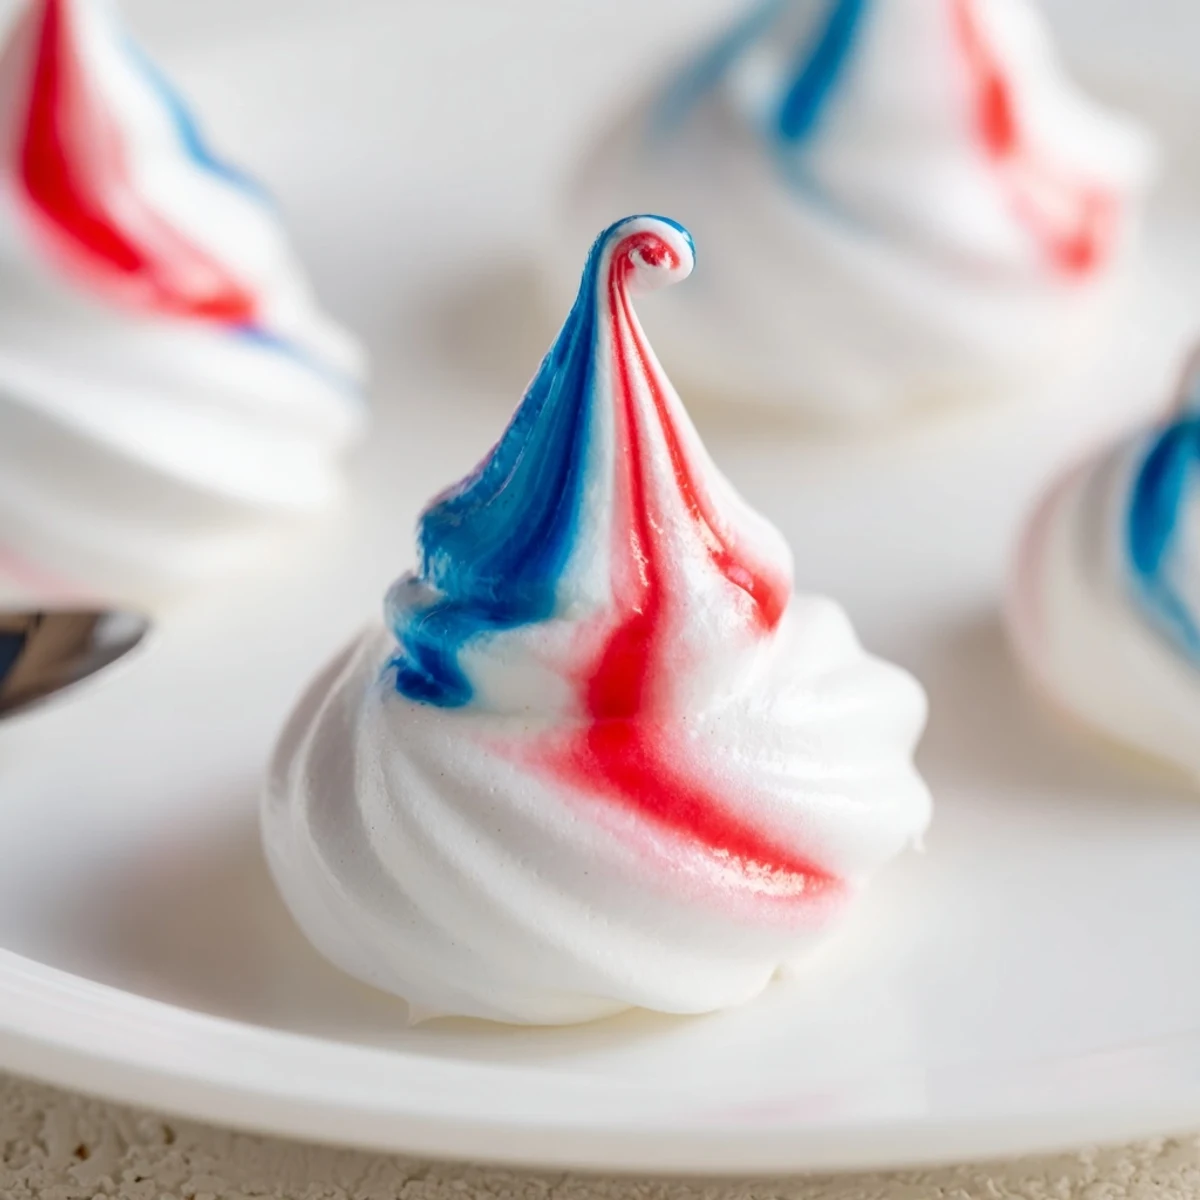
 Whip room-temperature egg whites with cream of tartar until soft peaks form, then add sugar gradually and beat to glossy, stiff peaks. Stir in a little vanilla, paint stripes of red and blue gel inside the piping bag, and pipe small kiss-shaped mounds. Bake very low and slow until completely dry and crisp, then cool in the turned-off oven for extra crunch. Store airtight at room temperature up to five days.
The sound of egg whites whipping in a mixing bowl always brings an electric anticipation, somehow louder than the hum of the mixer. Last summer, while prepping a batch of these red, white, and blue meringue kisses for a rooftop BBQ, a breeze came through the kitchen window and briefly scattered a swirl of colored sugar dust across my counter. The surprise was enough to make me giggle mid-recipe. Baking these sweet bites, you can instantly feel that blend of simple kitchen magic and festival cheer.
There was a moment at last year's block party when a little neighbor darted up, cheeks sticky with sugar, and asked for a 'magic cloud' just like mine. We ate a kiss together right there on the curb, sharing a blue-stained grin as the sun set and the fireworks began.
Ingredients
- Egg Whites: Fresh, room-temperature egg whites whip up best, so I always separate them a bit ahead and let them stand while I prep everything else.
- Granulated Sugar: Pour it in bit by bit – I once dumped it all at once, and believe me, patience is worth it for the perfect, glossy peaks.
- Cream of Tartar: A tiny scoop helps stabilize the meringue; skipping this once left me with sad, sloppy kisses.
- Salt: Just enough to balance out the sweetness so each bite feels light instead of cloying.
- Vanilla Extract: That faint warmth in the background makes these meringues taste like more than just sugar and air.
- Red & Blue Gel Food Coloring: Gel keeps the meringue from thinning out, and brushing on stripes is far less messy (and more striking) than mixing it in.
Instructions
- Set the Stage:
- Preheat your oven to 200°F (90°C). Lay out parchment on two baking sheets so the meringues lift right off later.
- Whip the Whites:
- In your impeccably grease-free bowl, start beating the egg whites with cream of tartar, watching for soft, foamy peaks.
- Sugar Rush:
- Add sugar slowly, about a tablespoon at a time, and feel the shift as glossy, stiff peaks start holding their shape after 5–7 minutes.
- Finish the Flavor:
- Beat in salt and vanilla, just enough to blend—listen for the batter's thick, sticky sound against the mixer wires.
- Stripe and Fill:
- Use a clean, food-safe brush to paint a red stripe and a blue stripe inside your piping bag, and leave a white stripe bare for that classic tricolor effect.
- Transfer the Meringue:
- Spoon the fluffy meringue mixture into the bag gingerly, trying not to smudge – a messy bag makes muddled colors.
- Pipe the Kisses:
- Pipe out starry little mounds about an inch wide, leaving enough space for dance room, and marvel as the colors spiral out.
- Low and Slow Bake:
- Bake kisses for 1 hour 15 minutes, until they're crisp and dry to the touch; then let them rest in the cooling oven for extra crunch.
- Cool and Store:
- Once completely cool, peel the meringues gently from the parchment and tuck away in an airtight container at room temp for up to five days.
 Pin to Pinterest
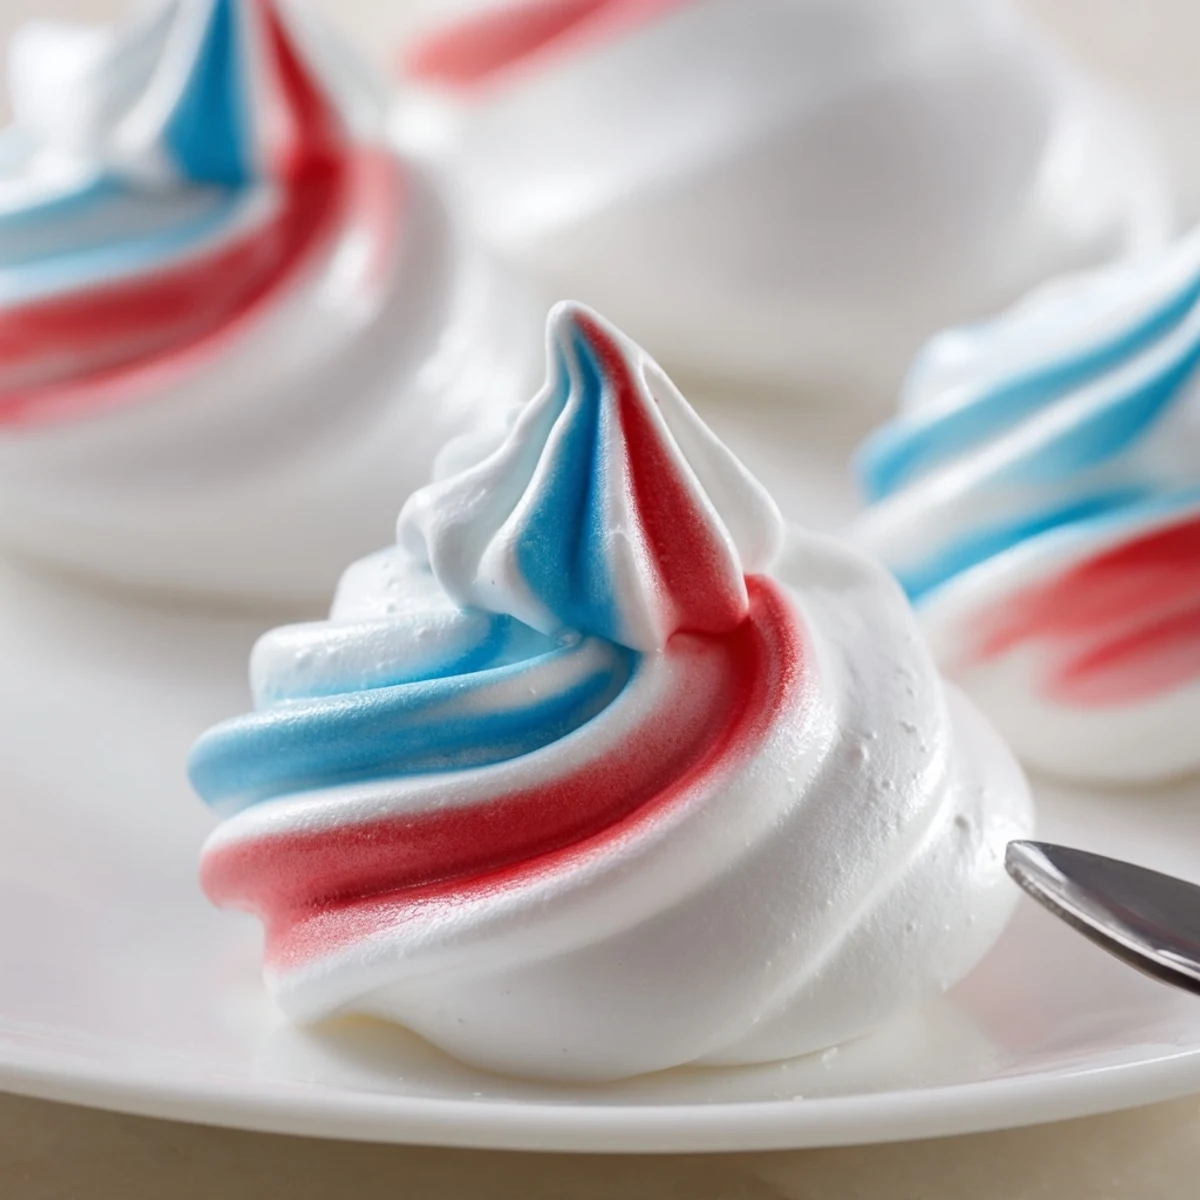
 When these came out perfectly striped for the first time, even my not-so-sweet-toothed uncle grabbed a handful for 'taste-testing.' Suddenly, the kitchen was crowded, and I realized these treats were claimed before they’d even cooled.
Let Your Colors Shine
Brushing generous gel lines inside the piping bag guarantees those iconic streaks—don’t skimp if you want the kisses bold enough to stand out on a holiday dessert table.
Best Times to Serve
The lively crunch and eye-catching swirls make these the first sweets to vanish at July celebrations, but they also charm as edible gifts or party favors for parades and picnics.
Troubleshooting Sticky Situations
If your meringues feel chewy or sticky, it could be humidity sneaking into your kitchen… or nerves making you rush them out of the oven. Keep calm, let them cool completely, and remember:
- Use the lowest oven rack for gentler, even heat.
- Let kisses bathe in the turned-off oven to finish drying.
- Store in airtight containers so crispness stays crisp.
 Pin to Pinterest
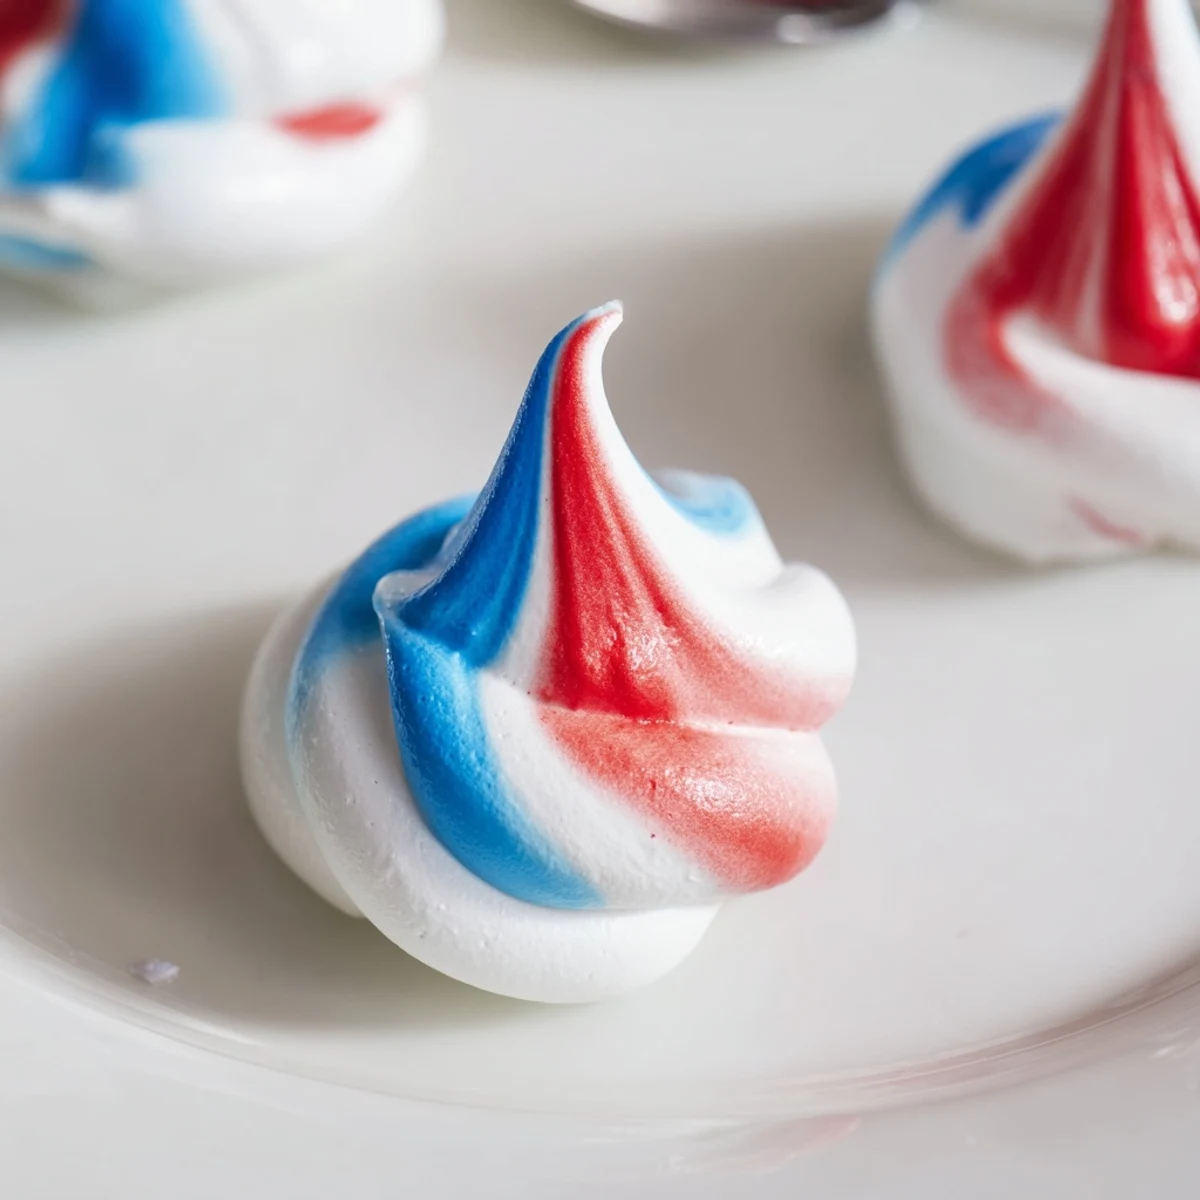
 Patriotic meringue kisses never fail to start a summer conversation or coax a smile from even the most serious guest. Here’s to sweet sparks and a kitchen covered in cheerful streaks of color.
Recipe FAQs
- → How do I achieve glossy, stiff peaks?
-
Use room-temperature egg whites, a grease-free bowl, and add sugar slowly while beating at high speed. Cream of tartar helps stabilize the foam so peaks become glossy and hold shape.
- → Why bake at a very low temperature?
-
Low, slow drying removes moisture without browning, producing crisp interiors and delicate shells. High heat risks browning or cracking while leaving centers chewy.
- → How can I keep the colored stripes from bleeding?
-
Use gel coloring for vivid, concentrated stripes and paint thin lines inside the piping bag. Avoid adding liquid colors directly to the meringue and work quickly to prevent moisture migration.
- → What's the best way to store the finished kisses?
-
Cool completely, then store in an airtight container at room temperature away from humidity. Properly dried meringues stay crisp for several days; avoid the refrigerator, which can introduce moisture.
- → What causes meringues to weep or become sticky?
-
Humidity, underbaking, or insufficient sugar can cause stickiness. Ensure meringues are fully dried in the oven and kept in a dry environment after cooling.
- → Can I add flavors or adjust colors safely?
-
Light extracts like vanilla or almond work well; avoid adding liquid in large amounts. Use concentrated gel or powder colorings to intensify hues without altering meringue texture.