Pin to Pinterest
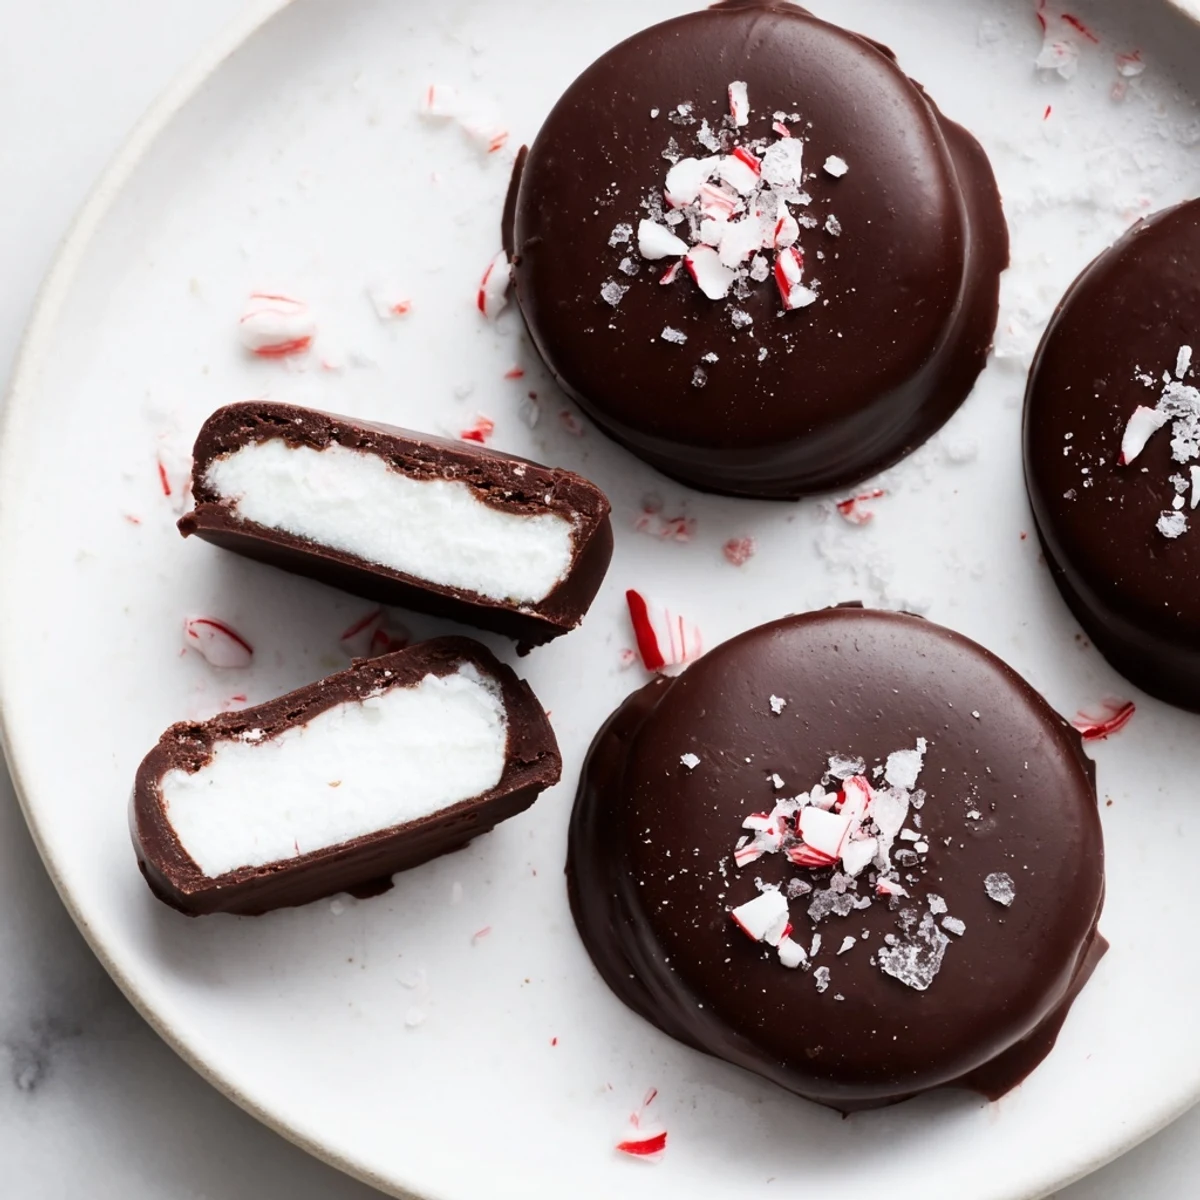
 Sweet, minty centers are made by beating sifted powdered sugar with softened butter, peppermint extract, a splash of heavy cream and a pinch of salt until smooth and pliable. Scoop, flatten and freeze until firm. Dip each chilled disc into melted dark chocolate (add a little coconut oil for shine), return to the tray and refrigerate to set. Finish with crushed peppermint or flaky sea salt and store chilled.
There are certain afternoons where the quiet hum of my kitchen makes me reach for something both simple and a little nostalgic—like a batch of homemade peppermint patties. I remember the first time I tried making them, the aroma of peppermint absolutely filled the air and made the entire kitchen feel almost wintry, no matter the season. Sometimes, I’d marvel at how this cool, creamy center gets wrapped up in a snap of bittersweet chocolate—an instant mood lifter. It’s the kind of project that never fails to surprise new tasters and feels a bit magical to shape with your own hands.
The memory that stands out most is making these with my little cousin just before the holidays—she snuck more chocolate than she coated the patties, and we ended up with a lopsided tray but a kitchen full of laughter. There were streaks of chocolate on the flour drawer, half-broken patties from eager little fingers, and plenty of licking the spatula when we finished. That batch was gone before dinner. We agreed the best ones always have a thumbprint or two.
Ingredients
- Powdered sugar (2 cups, sifted): This is the backbone of the filling, giving it an ultra-smooth texture—sifting helps avoid lumps for an elegant bite.
- Unsalted butter (2 tablespoons, softened): A touch of butter mellows out the mint, making the filling creamy instead of chalky.
- Pure peppermint extract (2 teaspoons): Bold, clean mint is key—taste as you go, since extracts can vary in strength.
- Heavy cream (2 tablespoons): The cream brings everything together softly, making the dough easy to shape (a few extra drops can help on a dry day).
- Pinch of salt: Never skip it—salt highlights the flavors and balances the sweetness.
- Dark chocolate (8 oz, 60–70% cocoa, chopped): Go for quality here; that bittersweet edge makes the mint pop.
- Coconut oil (1 teaspoon, optional): Mixing in coconut oil gives you a glossy, smooth shell and helps with dipping if you’re new to candy coating.
Instructions
- Make the peppermint dough:
- Beat together the powdered sugar, softened butter, peppermint extract, heavy cream, and a pinch of salt until you have a soft, pliable mixture—don’t worry if it looks shaggy at first; it smooths out quickly as you keep mixing.
- Shape the patties:
- Scoop out small balls (about 2 teaspoons each) and press them gently into tidy discs—if the dough sticks, dust your hands with a little powdered sugar.
- Chill the mint centers:
- Place the discs on a parchment-lined baking sheet and freeze them for 20 to 30 minutes, so they hold up when dipped in warm chocolate.
- Melt the chocolate coating:
- Add the chopped dark chocolate (and coconut oil, if using) to a heatproof bowl and melt it smoothly over barely simmering water, stirring often but slowly so no steam sneaks in.
- Dip and coat the patties:
- One by one, gently lower each peppermint disc into the chocolate with a fork, let the excess drip off, and set them back onto fresh parchment.
- Set and serve:
- Chill the finished patties for 15 minutes or until the chocolate shell is firm—they’re dangerously tempting at this stage.
 Pin to Pinterest
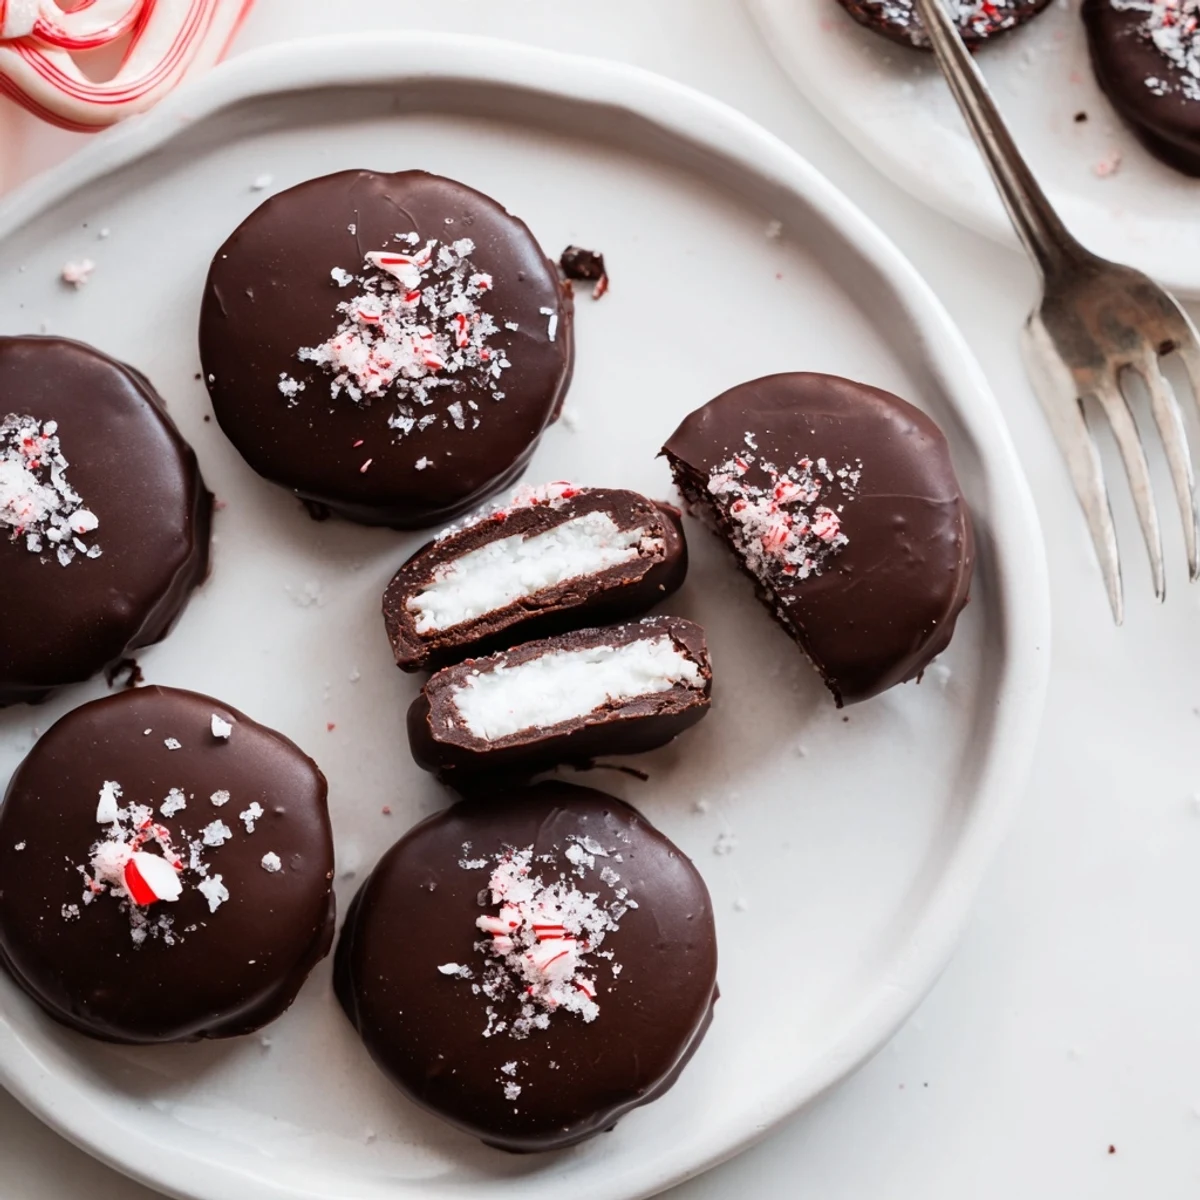
 The last time I made these for a gathering, a friend took one and paused, smiling—he told me it tasted just like the ones his grandmother used to give him after Sunday dinners. Watching everyone reach for seconds made all the messy chocolate fingers and extra dishes worth it. Somehow, a tray of peppermint patties disappears faster when shared with others.
How to Tweak for Dietary Needs
One revelation: these adapt beautifully to vegan or dairy-free versions. Swapping in a high-quality dairy-free butter and coconut cream for the filling keeps them just as creamy and satisfying—no one ever guessed the difference. The dark chocolate you use may need checking for hidden milk solids or cross-contamination if allergies are a concern.
Tips for Perfect Coating
Tempering chocolate can sound intimidating, but using a bit of coconut oil in the melted chocolate evens everything out and saves time. If you’re nervous about dipping, try using two forks and move quickly—confidence really helps here. Let the chocolate drizzle off before placing them back on the tray for that smooth, professional look.
Storage and Gifting Ideas
If you can resist snacking on them all immediately, peppermint patties make a spectacular edible gift for neighbors and friends around the holidays. Tuck a handful into a paper-lined box, and they’ll keep in the fridge for up to two weeks without losing their snap.
- Let the chocolate set fully before stacking to avoid smudges.
- Add a sheet of parchment between each layer if you’re packaging them up.
- Bring them to room temperature for about 10 minutes before enjoying to bring out the flavor.
 Pin to Pinterest
 Whether you’re making them for a special celebration or as a little midweek treat, these peppermint patties always deliver that perfect balance of crisp chocolate and cool mint. I hope you’ll find as much joy in sharing them as I have.
Recipe FAQs
- → How do I stop the filling from being too sticky?
-
Work with sifted powdered sugar and add it gradually until the mixture is firm enough to handle. Chilling the shaped discs for 20–30 minutes firms them up and makes dipping much easier.
- → Can I make these without dairy?
-
Yes. Swap dairy butter for a plant-based spread and use coconut cream in place of heavy cream. Dark chocolate choices vary, so select a dairy-free label to keep them vegan.
- → How do I get a smooth, glossy chocolate coating?
-
Melt chocolate gently over simmering water and stir until fully smooth; a teaspoon of coconut oil helps with shine and easier dipping. Avoid any water contact with the chocolate to prevent seizing.
- → Is tempering the chocolate necessary?
-
Tempering isn’t required for a successful coating, especially if you chill the dipped pieces to set. Tempering will give a firmer snap and longer shelf stability if you prefer a professional finish.
- → How long do these keep and how should I store them?
-
Store in an airtight container in the refrigerator for up to two weeks. For longer storage, freeze on a tray until solid, then layer with parchment in a sealed container for up to two months.
- → Can I change the size or add toppings?
-
Yes. Scoop larger or smaller portions to vary size. Before the chocolate sets, sprinkle crushed peppermint, candied bits or flaky sea salt for texture and flavor contrast.