 Pin to Pinterest
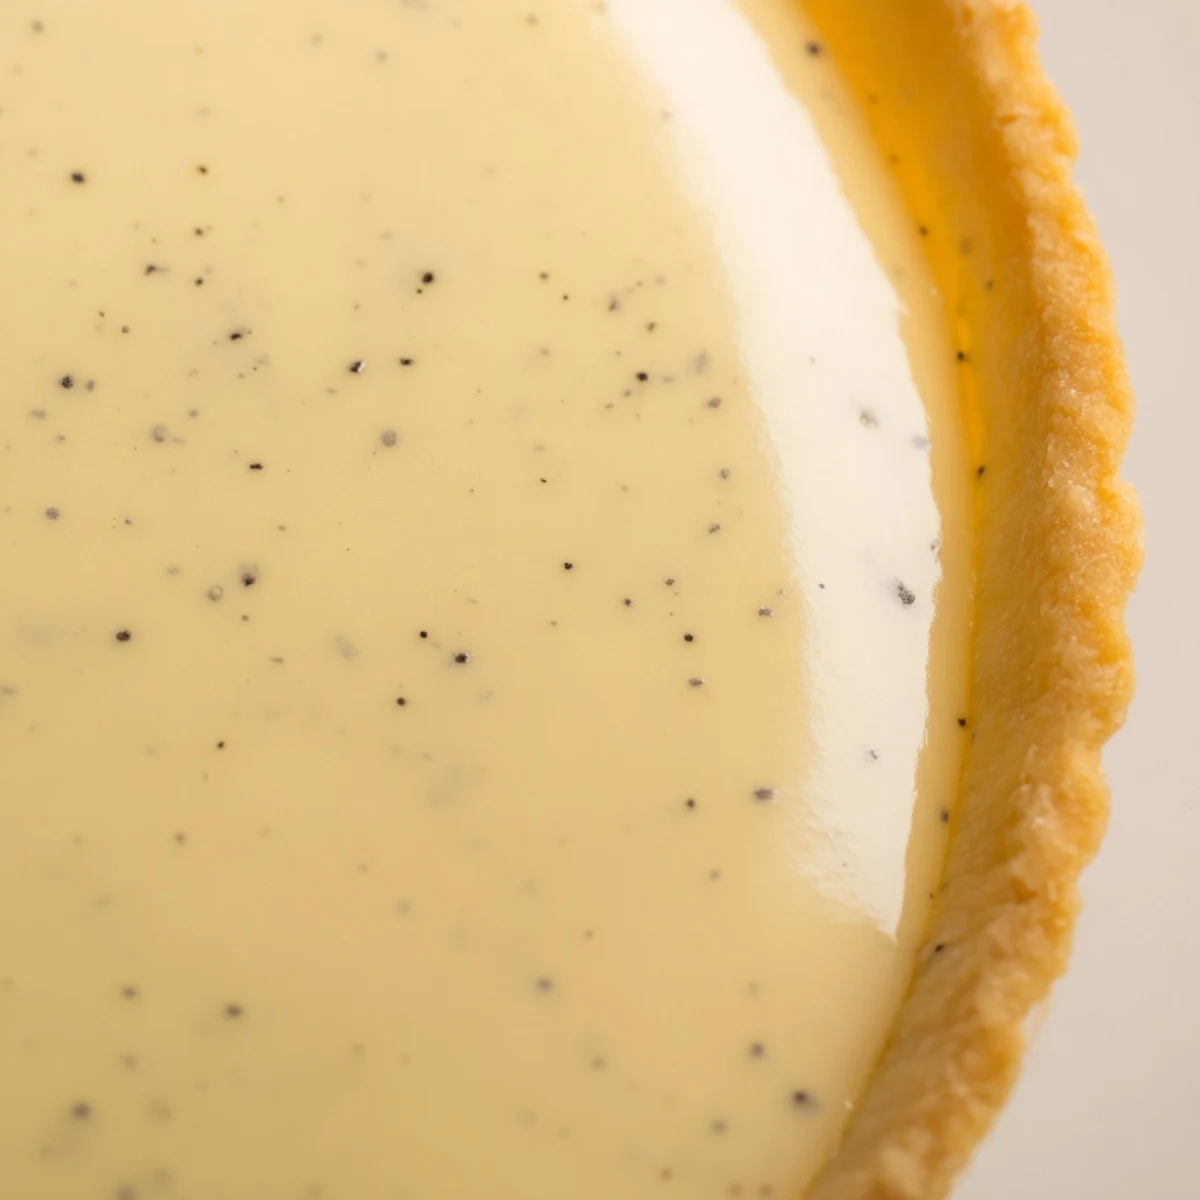
 This stunning French-inspired dessert combines a golden, buttery pastry shell with an exceptionally smooth vanilla bean custard filling. The crust features cold butter and egg yolk for ultimate crispness, while the cream filling gets its luxurious texture from milk, egg yolks, and real vanilla bean seeds. After blind-baking the shell to golden perfection, the chilled pastry cream gets spread evenly inside. The finished creation offers beautiful contrast—crunchy edges giving way to velvety, fragrant cream. Professional techniques like weighting the crust during baking and pressing plastic directly onto the cream surface ensure restaurant-quality results every time.
The kitchen was quiet except for the gentle crackle of a vanilla bean splitting open, those tiny black seeds scattering like edible stars across my cutting board. I'd been intimidated by pastry cream for years, convinced it required some secret French technique I hadn't learned yet. But standing there in my tiny apartment kitchen, watching the milk steam and the yolks thicken into something silky and miraculous, I realized sometimes the most elegant desserts are just patience in motion.
I brought this tart to a dinner party last spring, nervous because I'd never made pastry cream for anyone besides myself. My friend Sarah took one bite and actually went quiet, which for her is saying something, then immediately asked if I'd adopt her. The tart vanished in minutes, and I spent the rest of the evening explaining that no, it wasn't difficult, just required paying attention to the bubbling milk and not walking away to check my phone.
Ingredients
- 1 1/4 cups all-purpose flour: The structure of your dreams, keeping everything together without being tough
- 1/2 cup unsalted butter, cold and cubed: Cold butter creates those flaky layers we're all chasing, so don't let it warm up too much
- 1/4 cup powdered sugar: Dissolves more easily than granulated, giving you a tender, melt-in-your-mouth crust
- 1/4 tsp fine sea salt: Just enough to make everything taste more like itself
- 1 large egg yolk: Adds richness and helps bind the dough together beautifully
- 2 tbsp ice water: The secret to bringing it all together without activating too much gluten
- 2 cups whole milk: Whole milk creates the creamiest texture, so don't skimp here
- 1 vanilla bean: Fresh vanilla bean is non-negotiable for those gorgeous specks and depth of flavor
- 4 large egg yolks: The thickening magic that transforms milk into luxurious custard
- 1/2 cup granulated sugar: Just enough sweetness to let the vanilla shine through
- 1/4 cup cornstarch: Your insurance policy against runny pastry cream
- 2 tbsp unsalted butter, softened: Stirred in at the end for an extra silky finish
Instructions
- Make the dough:
- Pulse flour, powdered sugar, and salt in a food processor until combined, then add cold butter and pulse until you see coarse crumbs. Add the egg yolk, pulse again, then drizzle in ice water one tablespoon at a time just until the dough starts to clump together.
- Chill and relax:
- Press the dough into a disk, wrap it tightly, and let it rest in the fridge for at least an hour. This step is crucial because it lets the gluten relax and prevents shrinking during baking.
- Blind bake the crust:
- Roll the dough out and press it gently into your tart pan, trimming any excess. Prick the bottom with a fork, line with parchment, fill with weights, and bake at 350°F for 15 minutes before removing weights and baking another 8-10 minutes until golden.
- Infuse the milk:
- Heat the milk with your vanilla bean pod and seeds until it just begins to simmer, then remove from heat. Let it steep for 10 minutes to really extract all those gorgeous vanilla flavors.
- Whisk and temper:
- Whisk yolks, sugar, cornstarch, and salt until pale and thick, then slowly pour the hot milk into the eggs while whisking constantly. This gradual warming prevents scrambled eggs, which nobody wants in their tart.
- Cook to thick:
- Return everything to the pot and cook over medium heat, whisking constantly, until the mixture bubbles and thickens dramatically. You'll feel it transform under your whisk.
- Finish and chill:
- Remove from heat and stir in the butter until melted and glossy, then press plastic wrap directly onto the surface to prevent a skin from forming. Chill until completely cold, at least an hour.
- Assemble with love:
- Spread the cold pastry cream evenly into your cooled tart shell and top with fresh berries if you're feeling fancy. A dusting of powdered sugar right before serving makes everything look professional.
 Pin to Pinterest
 My grandmother never made fancy French tarts, but she understood that some desserts need time and attention. The first time I served this to my family, my dad took a bite and said it reminded him of the custard tarts from the bakery near his childhood home, which is basically the highest compliment he's capable of giving.
Getting That Crust Just Right
I've learned that keeping everything cold is the difference between a tough, shrunken crust and one that's tender and golden. Work quickly, don't over-handle the dough, and trust that chilling time. If the dough starts feeling warm or sticky, pop it back in the fridge for 15 minutes.
The Secret To Silky Pastry Cream
Whisking constantly is tedious but absolutely essential, especially during the final thickening stage. You'll feel the mixture transform from liquid to pudding-like consistency right at the end. That moment when it bubbles and becomes glossy? That's your cue to remove it from heat immediately.
Make Ahead Magic
This tart actually benefits from being made a day ahead, giving the flavors time to meld and the crust to soften slightly. Store it in the fridge uncovered, as covering can make the crust soggy. Bring it to room temperature for about 20 minutes before serving.
- Pastry cream keeps perfectly for two days in the fridge, pressed with plastic wrap
- The baked tart shell can be frozen for up to a month if wrapped tightly
- Add fresh fruit right before serving or it will weep and make everything soggy
 Pin to Pinterest
 There's something deeply satisfying about serving a tart that looks like it came from a professional bakery. Watching people's eyes light up when they take that first creamy, vanilla-rich bite makes all the whisking and chilling absolutely worth it.
Recipe FAQs
- → How far in advance can I prepare this tart?
-
The pastry cream can be made up to 2 days ahead and stored covered directly against the surface. The tart shell can also be baked a day in advance. However, for best texture, assemble the tart no more than 4-6 hours before serving to keep the crust crisp.
- → Can I use vanilla extract instead of a vanilla bean?
-
While vanilla bean paste or extract will work, whole vanilla beans provide those signature black specks and more complex flavor. If substituting, use 2 teaspoons of high-quality vanilla bean paste or 1 tablespoon pure vanilla extract added after removing the pan from heat.
- → Why must I put plastic wrap directly on the pastry cream?
-
Pressing plastic wrap directly onto the surface prevents a skin from forming as the cream cools. Pastry cream forms an unappealing film when exposed to air, which creates lumps when you try to stir it later. Direct contact keeps the surface perfectly smooth.
- → What causes the pastry cream to curdle?
-
Curdling typically happens from overheating or adding hot milk too quickly to the eggs. Always temper the eggs by whisking constantly while slowly pouring in about one-third of the hot milk first. This gradually raises the temperature without shocking the proteins. Cook over medium heat, never high.
- → Can I freeze the assembled tart?
-
Freezing isn't recommended as the texture of both crust and cream will suffer. However, you can freeze the baked tart shell for up to 2 months (well-wrapped) and freeze the pastry cream for up to 1 month. Thaw both in the refrigerator before assembling.
- → What fruits pair best with vanilla bean cream?
-
Fresh berries like raspberries, strawberries, and blackberries complement vanilla beautifully. Sliced stone fruits such as peaches or plums work wonderfully in summer. For winter, try poached pears or simply dust with powdered sugar for a classic finish.