 Pin to Pinterest
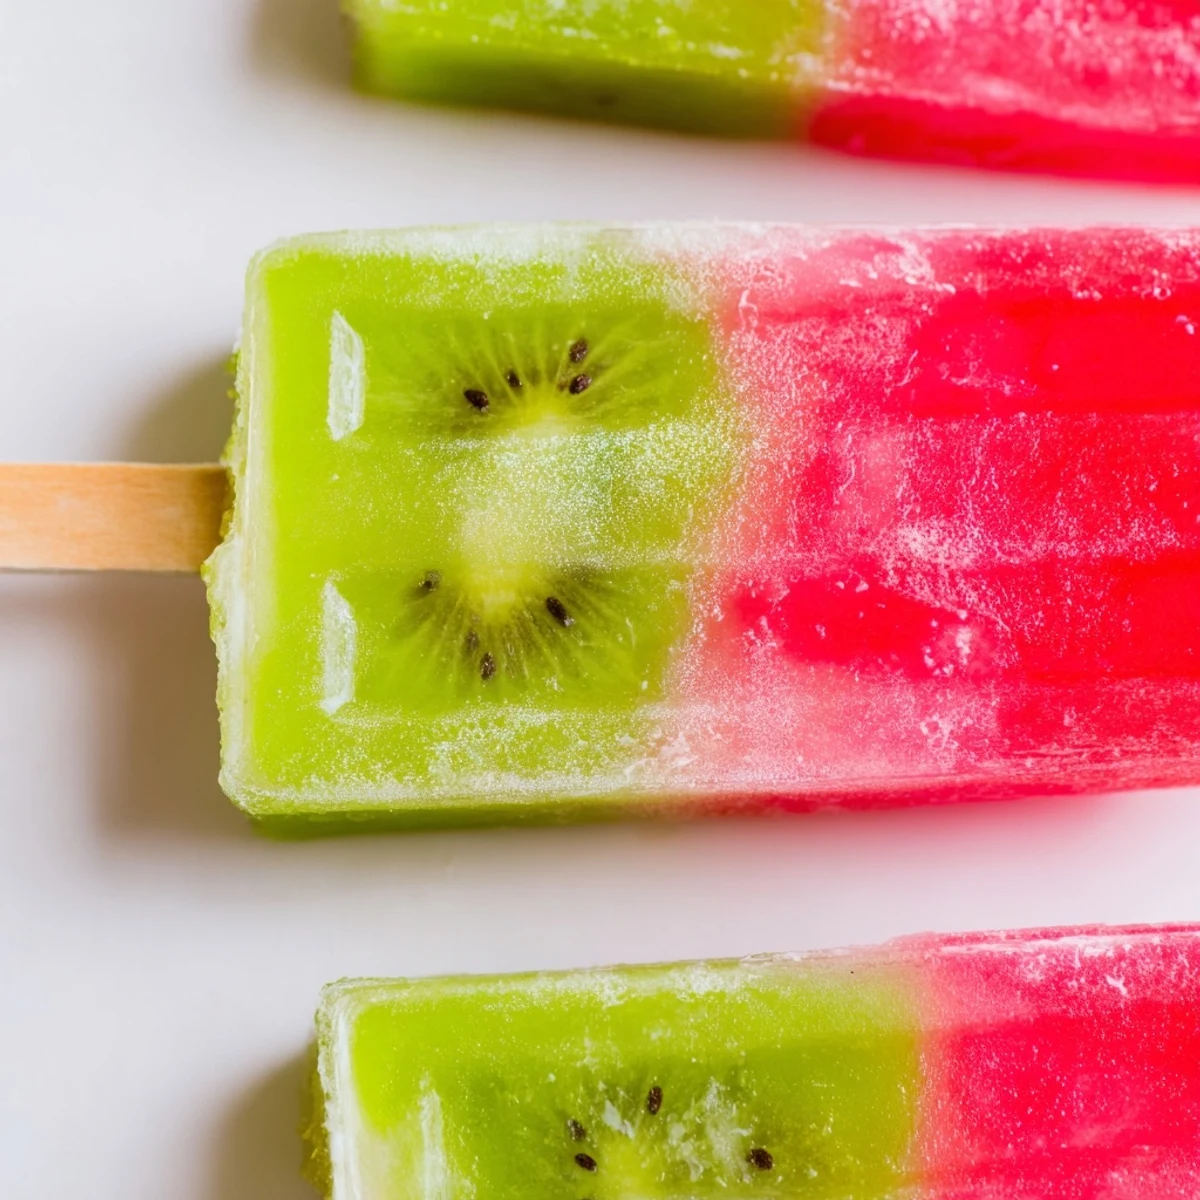
 Cool down this summer with stunning two-layer fruit pops featuring sweet watermelon and tangy kiwi. These frozen treats come together in just 20 minutes of active prep time—simply blend each fruit with a touch of lime juice, freeze in layers, and enjoy a naturally sweet dessert that's as beautiful as it is refreshing.
Perfect for hot afternoons, these layered pops offer a vibrant presentation and delicious combination of flavors. The watermelon provides natural sweetness while the kiwi adds a bright, tangy finish. Each pop contains only 42 calories, making them a guilt-free indulgence.
Customize these treats by adding fresh mint to either layer, swapping sweeteners, or incorporating diced fruit for extra texture. The result is a colorful, crowd-pleasing dessert that's vegan, gluten-free, and dairy-free.
The thermometer on my porch read 103 degrees and the kids had stopped complaining about the heat, which is when you know its truly brutal. I had a massive watermelon taking up half my fridge and a handful of kiwis on the counter that were one day away from mushy. That afternoon birthed the most gorgeous frozen pops Ive ever pulled from a mold.
My neighbor Lisa watched through the fence as I unmolded the first batch and demanded three on the spot. Her youngest now requests them every time she sees watermelon at the grocery store.
Ingredients
- Seedless watermelon (3 cups cubed): The riper and redder, the sweeter your base will be, so pick one that feels heavy for its size.
- Fresh lime juice (2 tablespoons for watermelon, 1 for kiwi): Bottled works but fresh brightness makes these sing.
- Agave syrup or honey (1 to 2 tablespoons): Totally optional if your fruit is perfectly ripe, but a touch of sweetness balances the tartness beautifully.
- Ripe kiwis (3, peeled and sliced): Give them a gentle press, they should yield slightly but not feel squishy.
Instructions
- Blend the watermelon base:
- Toss the cubed watermelon, lime juice, and sweetener into your blender and purée until completely silky. Pour this rosy liquid into your popsicle molds, stopping at roughly two thirds full, then tap the sides to chase out any stubborn air bubbles.
- Give the first layer a head start:
- Slide the molds into the freezer for about one hour until the surface feels just firm enough to hold a second layer without mixing. This patience pays off in those clean gorgeous stripes.
- Prep the kiwi layer:
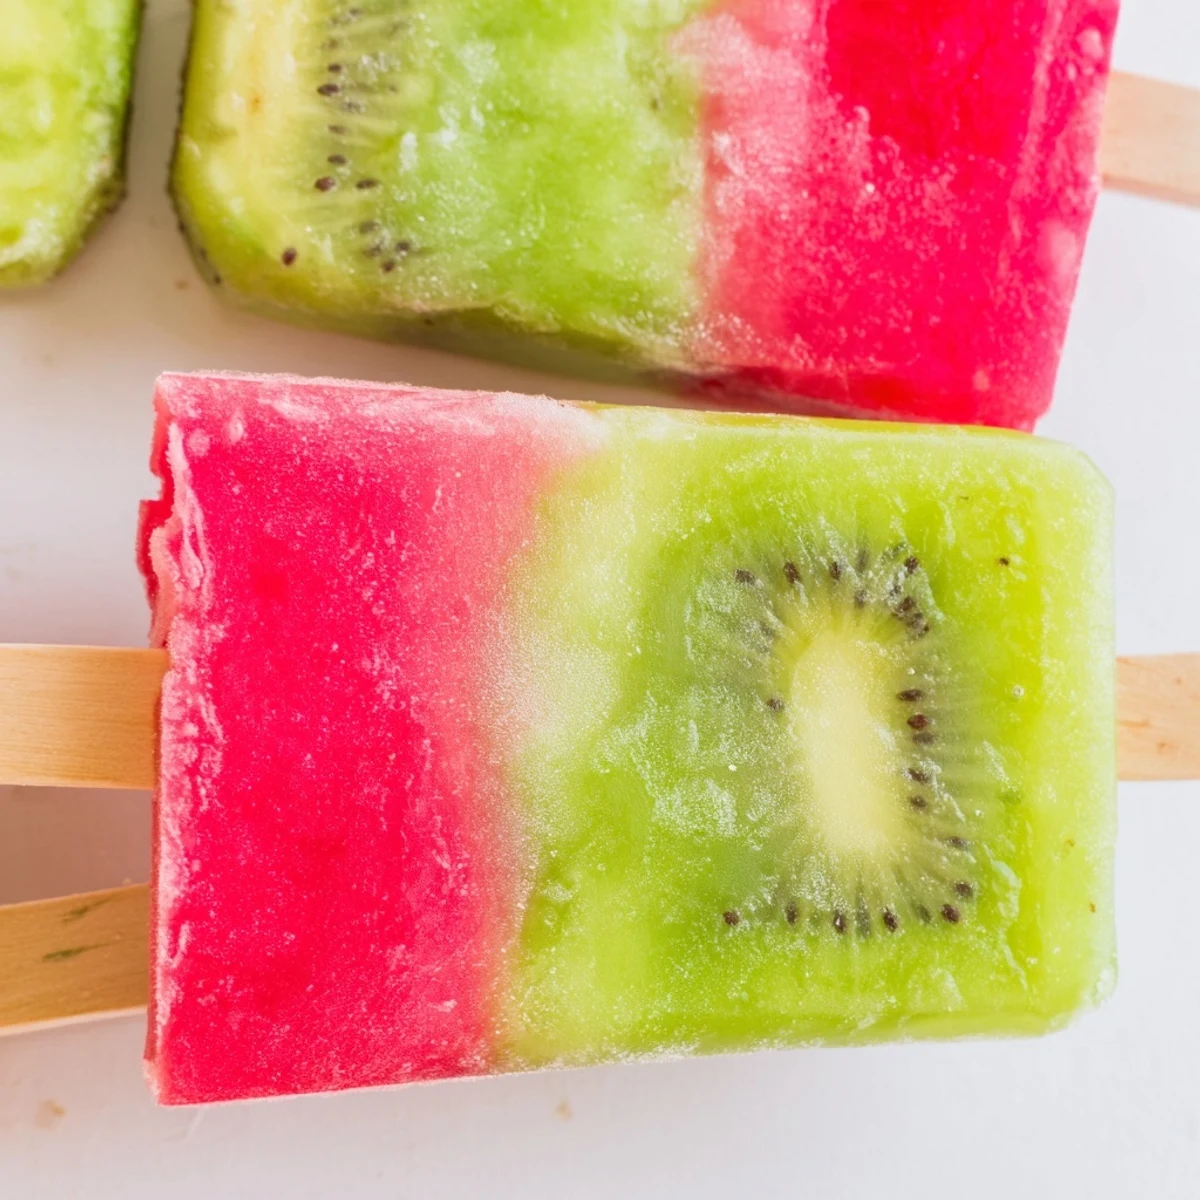
- While the watermelon sets, blend the kiwis with their lime juice and sweetener until vibrant green and smooth. The color contrast with the pink below is what makes these unforgettable.
- Layer and freeze:
- Pour the kiwi purée over the firm watermelon base, leaving a tiny gap at the top, then insert your sticks straight and centered. Freeze for at least three hours, though overnight is even better for a solid pop that doesnt crumble.
- Unmold with care:
- Run warm water over the outside of each mold for a few seconds and gently wiggle the pop free. They should slide out like a dream.
 Pin to Pinterest
 Fourth of July weekend I brought a cooler full of these to a backyard barbecue and every single one disappeared before the burgers came off the grill. Grown adults were licking popsicle sticks like children and nobody was embarrassed about it.
Tools That Make This Easy
A decent blender does all the heavy lifting here, and any standard popsicle mold set from the store works perfectly. I prefer silicone molds because they release the pops with less fuss and way less warm water, which means less melting before the first bite.
Playing With Flavors
Once you nail the basic two tone pop, the door is wide open for experimentation. Chopped mint folded into the watermelon layer tastes like a garden party. A handful of diced fruit suspended in the purée adds a chewy surprise. Maple syrup swaps in easily for agave or honey if that is what you have on hand.
Keeping Them Fresh
If you somehow end up with leftovers, wrap each pop tightly in parchment or plastic and tuck them into a freezer bag to prevent ice crystals from forming. They keep beautifully for up to two weeks, though mine never last that long. A few quick reminders for the best results every time.
- Always taste your fruit before blending, because a bland watermelon means a bland pop no matter how much lime you add.
- Let the pops sit at room temperature for two minutes before serving for the perfect softness.
- Never rush the first freeze, those clean layers depend on it entirely.
 Pin to Pinterest
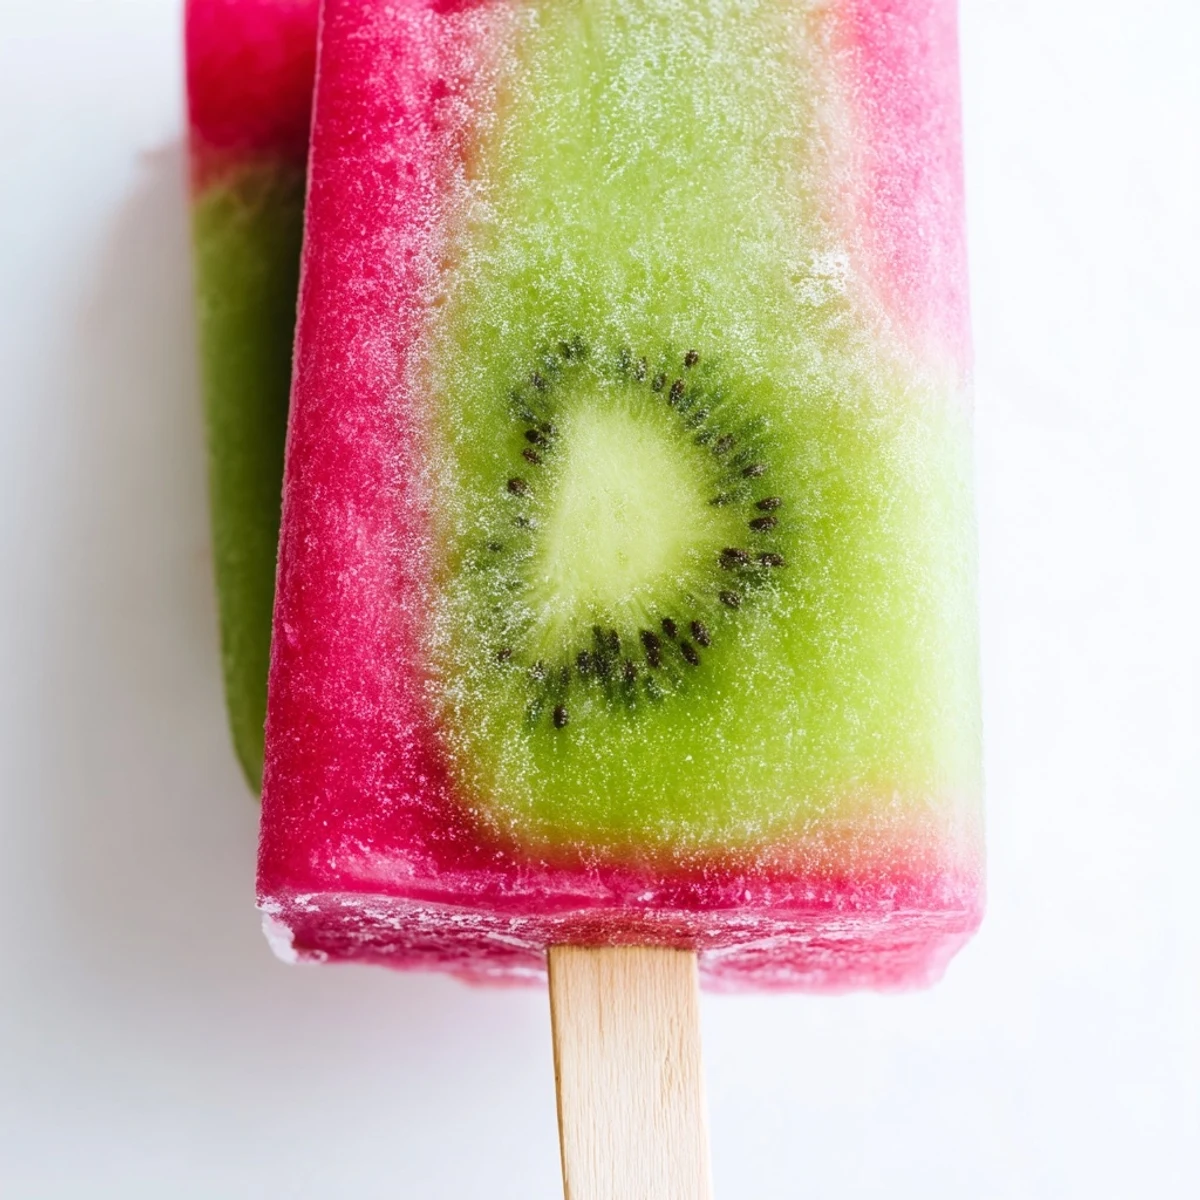
 These pops are proof that the simplest recipes often leave the biggest impression. Make a batch on the next sweltering afternoon and watch them vanish.
Recipe FAQs
- → How long do these fruit pops need to freeze?
-
The total freezing time is approximately 4 hours. The watermelon layer needs about 1 hour to set slightly before adding the kiwi layer, then the complete pops require at least 3 additional hours to freeze completely solid.
- → Can I use different fruits in this layered format?
-
Absolutely. Any combination of puréed fruits works well—try strawberry-mango, peach-raspberry, or pineapple-coconut. Just ensure each fruit layer has similar consistency for clean, distinct layers.
- → What's the best way to remove pops from the molds?
-
Run the mold under warm water for 5-10 seconds, gently wiggle the stick, and pull straight out. If they're stubborn, run warm water over the exterior for a bit longer until they release easily.
- → Can I make these without added sweetener?
-
Yes, both watermelon and kiwi are naturally sweet. The sweetener is optional and primarily depends on personal preference and the ripeness of your fruit. Taste each purée before freezing and adjust accordingly.
- → How should I store these fruit pops?
-
Once fully frozen, remove pops from molds and wrap individually in parchment paper or store in freezer bags. They'll keep well for up to 2 months in the freezer, though they're best enjoyed within the first few weeks.
- → Are these suitable for people with dietary restrictions?
-
These layered treats are naturally vegan, gluten-free, and dairy-free. They're free from common allergens, though if you use honey instead of agave, they're not suitable for children under 1 year old.